Fast, Easy, and Good- Just as Spaghetti Sauce Tomato Soup should be

IMG_7431

A few weeks ago I really wanted to eat a thick and hearty tomato soup. Okay-I know I could just open a can, but I couldn’t make myself do it. There’s nothing wrong with that kind of soup, I was just looking for a something, I don’t know, a little more tomatoey.

In cooking class, Chef told us any basic tomato sauce recipe could be turned into tomato soup by adding bechamel sauce to it. I thought I’d take the “worked all day” approach and just add heavy cream to pre-made sauce.

Yep. It worked.

So if you want a thick, fast, tasty tomato soup, belly on up to this recipe.

Spaghetti Sauce Tomato Soup:
Ingredients:
1 jar of spaghetti sauce
(I went with a sugar free brand- beware of added sugars in sauce!)
1/2 cup of heavy cream
1 cup of cherry tomatoes
(If you want to get a little fancy and add some texture and shapes)
Pepper and garlic salt to taste

How-To:
Pour the jar of spaghetti sauce into a saucepan over medium heat.
Add the cherry tomatoes.
Bring to a simmer and let it cook for 10 minutes.
Remove from heat and stir in the cream.
Once combined, season to taste.

Oh my gosh- that was so quick, you could make a provolone and fresh mozzarella grilled cheese too.

Mmm. Think about it….

IMG_7438

Super Bowl Drunken Hot Dogs

Got any Super Food traditions for the Super Bowl? I do! Here’s my favorite recipe for the America’s favorite Un-Holiday.

sfarrisyoung's avatarHearty Eaters

For as long as I can remember we’ve had drunken hot dogs as a Farris family Super Bowl tradition. I made them vegetarian this year with tofurkey kielbasa hot dogs.

Here’s the recipe:
1/2 cup brown sugar

20120205-194030.jpg

Add a half a cup of bourbon.

20120205-194116.jpg

Add a half a cup of ketchup.

20120205-194215.jpg

Stir together and simmer on low.

20120205-194257.jpg

For the veggie dogs, I sautéed them first in some oil then add them to the simmering sauce pan. This made them crispy on the outside before getting doused in bourbon goodness. For regular hot dogs you can just cut up a package of uncooked hot dogs into bite sized pieces and put them in the sauce. The veggie dogs should be in bite sized chunks too.

20120205-194733.jpg

Let them simmer for 15 to 30 minutes. You can also use a small crock pot to keep them warm. I always eat mine with toothpicks-…

View original post 14 more words

First you stock, then you broth, and finally, you garlic noodle soup.

IMG_7340

I had no idea until I took a professional cooking class that there’s a difference between stock and broth. Straight from the ladle, here’s what The Professional Chef textbook says…

“The major distinction between broths and stocks is that broths can be served as is, whereas stocks are used in the production of other dishes.”

So throughout my whole cooking life I’d been making stocks and calling them broths. I know that in the grand scheme of things what happens between you and your stock pot is just between you and your stock pot, BUT I decided to walk myself through both to make sure I really understood the difference.

Vegetable Stock:

IMG_7332

Because I’m a vegetarian making good veggie stock is a priority (and a challenge). I’ve found the more veg I stick in the pot, the better the flavor. I used to put in whatever I had in the fridge, but now I stick to non-starchy veg to help keep my stock clear(er). All chefs want clear stock. I think of it like a painter having perfect paints. I didn’t even know stock was supposed to be clear until I put on a chef’s jacket, so clear stock could be a low-totem pole concern in your kitchen, and that is totally fine. I hover somewhere between clear and slightly cloudy, but that’s just my style.

Vegetable Stock: 1 Gallon

(Making 1 gallon is a good way to go. You can freeze the stock and use it for other recipes)

Ingredients:

*5 lbs of non-starchy vegetables– I use a combination of lettuce, mushroom, leek, white onion, carrot, celery. You can chop or put the vegetables in whole. I often do a mix, but if you do chop your veg, make sure to chop larger pieces (it’ll help with fishing them out later). And okay, I do put a parsnip in there. It breaks the non-starch rule, but that’s why my stock is always on the (er) side of clear.

*5 quarts of cold water – Cold water is key because you want your veg and water to start out at the same temperature.

*1 Standard Sachet d’Epices- A sachet d’epices is a small bundle of cheese cloth that contains, a sprig of thyme (1 teaspoon), 2-4 parsley stems (2 teaspoons), 1 bay leaf, 1 teaspoon of cracked peppercorns, and 1 garlic clove (optional). You put all that in the cheese cloth and tie it off with cooking string, essentially making a teabag for your stock. You can always forgo the fancy and put the spices directly into the stock. Again if you want clear stock, you shouldn’t just toss in the spices, but you can join me in the (er) camp any time you like!

Vegetable Stock How-To:

*Place the water, spices and veg in a stock pot.

*Bring to a simmer.

*As the stock simmers, you’ll see bubbles gathering on the surface of the stock. It kind of looks like bubbles in a bubble bath or froth. Use a mesh strainer or spoon to skim the bubbles off (this again is for the sake of clearness).

*Simmer for an hour.

*Remove all vegetables. This usually involves a strainer. Save any veg that you might want to use in your soup. I almost always keep the carrots and the celery.

Here is me testing my clearness….It’s defineately on the side of (er).

IMG_7341

Now it’s time for broth! I’m making a garlic broth. So this recipe should be tasty enough to eat just as it is. I won’t be using the whole gallon, so I’ll only put in what stock I need for the soup and freeze the rest.

Garlic Broth: 

IMG_7345

Ingredients:

2 quarts of Vegetable Broth

14 peeled, whole garlic cloves

2 teaspoons of salt

1 teaspoon of pepper

1/4 teaspoon of cloves

1/4 teaspoon of sage

1/4 teaspoon of thyme

1 bay leaf

2 teaspoons of parsley

1 cup of white wine (A sweet white wine is nice, but anything works!)

Garlic Broth How-To:

*Bring your stock to boil.

*Add all ingredients into the stock. Let everything boil for 30 minutes.

*When the 30 minutes are up, fish out the bay leaf and any garlic you’re not keen on eating. I usually leave 7 cloves. And that’s it– you’ve got Garlic Broth!

IMG_7353

The final step-SOUP! I started making garlic noodle soup when I was looking for a substitute for chicken noodle soup. The great thing about this soup is you can pretty much add anything to it. Whatever ever will warm your bones will do the trick. I often make this soup in the late summer with fresh garden veg and freeze it for when flu season rolls around in December.

Garlic Noodle Soup:

IMG_6904

Ingredients:

2 quarts of garlic broth

2 cups of egg noodles

1 cup of giant lima beans (Canned or soaked is fine)

1 cup of cherry tomatoes

2 carrots, chopped (Remember these can be the same carrots from making stock!)

2 celery ribs, chopped (Ditto.)

2 cups of water

2 eggs scrambled. (You can scramble your eggs while the soup is cooking).

Garlic Noodle Soup How-To:

*Bring the garlic broth to a boil. I usually add a cup or two of water at this point. This will help with evaporation and the noodles pesky habit of soaking up broth.

*Add egg noodles. Cook according to package.

*Reduce to a simmer. Add beans, cherry tomatoes, carrots, and celery. Simmer for 10 minutes.

*Scramble your eggs if you haven’t already.

*Add spinach and stir to help with wilting.

*Add eggs! These guys give you an extra boost of protein and add nice flavor.

*Turn off the heat and let the soup rest for another 10 minutes, the eat it up!

*Season to taste.

Holiday Leftovers: Egg Nog French Toast

IMG_7287

I saw this idea on-line and thought, Yep– That sounds good. Plus I always need recipes for leftover egg nog. Before Christmas I buy up egg nog like we’re going to run out and there’s always a full bottle hanging out in the fridge until New Years. I think I inherited some kind of egg nog scarcity paranoia. And who truly wants nog after January? If you do, than thank goodness. Come over. I have some for you.

Here’s my version of the recipe…and this is the LAST holiday recipe for this year, I promise.

IMG_7315

Ingredients:

1 cup of egg nog

2 eggs

6 slices of bread (I like thick a French loaf or Italian bread)

1 to 1 1/2 tablespoons of butter

1 teaspoon of cinnamon sugar

1/4 a teaspoon of nutmeg

How-to:

Slice 6 pieces of bread and set them aside.

Grab a casserole dish or baking pan that’s big enough to lay all your slices flat on the bottom (Spread them out. No overlapping). I went ahead and set my bread in the pan to make sure it was the right size, then took my slices out.

In the same empty dish/pan, crack your eggs and pour your cup of egg nog. Use a fork to stir them together until well combined.

Set your bread into the pan just like you did before, but now it’s taking a nice nog soak.

Using a fork, press each slice down so it absorbs the egg nog mixture. Let it sit for a minute, then flip the slices. Press them with fork again and let them sit while you prep the stove.

Rub your butter lightly over your skillet. Leave the butter on the skillet and turn the burner heat on medium low. Wait for the butter to melt and bubble slightly.

Using the fork, add your slices to the buttery skillet. (You may have to do batches depending on the size of your skillet).

Cook the first sides until golden and brown, then flip them over.

Once both sides are toasted, sprinkle each slice with the cinnamon sugar and the nutmeg!

IMG_7291

I know this is french toast blasphemy, but you don’t even really need syrup! But you might want a little more nog to go with it.

IMG_7295

Holiday Brainwash: My Repeatedly Forgotten Recipes

Yep, every year I forget how to make the same two recipes: cranberry sauce and roasted chestnuts.

I know. The holidays are over. It’s January for cooks-sake. BUT I am going to document these puppies before I misplace them AGAIN. I’m not kidding. For the past three November’s, Thanksgiving shows up and I find myself asking, where’s that cranberry sauce recipe my family loves? This year, I couldn’t find it at all and had to try another one (which wasn’t a bad thing really). December arrives and I’ve suddenly got fresh chestnuts rolling around the grocery card– and once again, I can’t figure out how to roast them in the oven…sigh. I suffer from holiday brainwash.

No more my food friends– I will be bookmarking this page for next year.

IMG_7162

My Go-To Apple Cranberry Sauce Recipe:

1 12 ounce bag of cranberries

2 large Honey Crisp Apples, diced

1/4 cup of water

¼ cup of freshly squeezed lemon juice

¾ cup of granulated white sugar

1/2 teaspoon of ginger

½ teaspoon of cinnamon

Combine all ingredients in a medium sauce pan, and bring to a boil. Stir, and simmer until cranberries burst and apples soften. Continue to simmer until sauce thickens. From initial boil to thickening takes around 10-20 minutes. As I remember, you have to keep an eye on it and make sure the sugar doesn’t burn. Let it cool and refrigerate until you’re ready to serve it!

IMG_7185

I couldn’t find my usual recipe in time for the holidays this year, so I tried a new one, a Pear-Ginger Chutney. I think I liked it even better!

Pear-Ginger Chutney Recipe

1 12 ounce bag of fresh cranberries

1 cup of granulated white sugar

2 ripe pears, peeled and diced.

1/4 cup of diced crystalized ginger

1 minced jalapeno (minus the seeds)

1 tsp of freshly grated ginger

1/4 tsp of salt

Combine cranberries and sugar in a medium saucepan. Coat the cranberries in the sugar, then set saucepan over medium heat. Stir and cook until cranberries start to burst and sugar dissolves. It took about 8 minutes. Stir in the pears, crystalized ginger, salt, and jalapeno. Stir and cook until pears are softened. It took about 8-10 minutes. Let it cool, then refrigerate until you’re ready to serve it!

IMG_7247

Perfect Oven Roasted Chestnuts

That’s right– this recipe is perfect. Or almost. Trust me. After as much trial and error I’ve had, let me just give you this recipe and you can go about your chestnut oven roasting business.

This works on any quantity of chestnuts– that’s up to you. I always add a few extra just incase a few of the nuts refuse to peel.

1) Preheat oven to 375

2) Fill a bowl (big enough to hold all the chestnuts you’re going to roast) with water.

3) Grab a casserole dish with a lid (something you can put in the oven).

4) Pick out the chestnuts you want roast.

5) There will be a rounded and flat side to the chestnut. Find the flat side. Using a paring knife, cut a small X through the shell of the chestnut. This will keep the chestnuts from exploding in your oven (yeah).

6) Drop each scored chestnut into the bowl of water.

7) Let them all soak in the water for 3 minutes. This will help the nuts steam in the oven.

8) Place the scored and soaked chestnuts in the casserole dish with the lid. Put the lid on- don’t forget it!

9) Roast in the oven for 15 minutes.

10) When time’s up, take the lid off and let the chestnuts cool for 5 minutes in their casserole dish. You still want them to be warm to touch. If they completely cool, there’s no way in heck to peel them.

11) Use the same small knife, and possibly a hand held nut cracker to help you peel the shell and the “furry” skin off the soft chestnut meat. Be careful with that nutcracker the chestnut could mush on you, so only use it on stubborn chestnuts.

12) Set the nuts aside until you are ready to saute or eat them. I always saute mine in some olive oil, a dash or two of freshly ground pepper and garlic salt and 1 teaspoon of fresh chopped rosemary.

Fresh unpeeled chestnuts must stay refrigerated and last for a week or two, just depending on how fresh they were to begin with. I love to put pan sautéed chestnuts on top of my winter salad.

IMG_7249

Well, there they are, the holiday recipes I forget every year. Problem solved– I hope.

Now those are some pumpkin pie pancakes…

2014_10_30-Pumpkin Pancakes-5

Alas. They are not my pumpkin pie pancakes. My lovelies photographed like this…

photo (1)

Though not as pancake glamorous as the previous photo, they were pretty good. If you’re anti-pumpkin spice– stop reading this now. However, if you can’t wait for the autumn breeze to blow in tastes of cinnamon, ginger, clove, and of course, the famous gourd– then read on my spicy friends.

I love fall just for the pumpkininess of it all. Butternut squash is good too, but come on, let’s be honest, it’s a back-up to all other autumn flavors. Pumpkin Spice Rules. I’ll admit that perhaps this year things did get a little out of hand. When a whole page of the grocery store ad is dedicated to pumpkin-spiced-you-name-it-products, I do start to question my devotion.

BUT– then I make something like these pumpkin pie pancakes. Suddenly, I forget about the Pumpkin spiced Oreos and fall in love all over again with the cozy smells of autumn drifting up from my plate.

Pumpkin Pie Pancakes Recipe:

I adapted the kitchn recipe, due to my preferred pancake consistency (which is cakey and a tad bit dense).

What you need: Makes 10 pancakes, or more if you keep them small!

2 cups (9 ounces) all-purpose flour
1 1/2 teaspoons baking powder
1/2 teaspoon baking soda
1/2 teaspoon salt
3 tablespoons brown sugar
1  teaspoons ground cinnamon
1/4 teaspoon ground ginger
1/4 teaspoon nutmeg
1 1/2 cups milk, preferably whole
1 cup canned pumpkin puree  (not pumpkin pie puree)
2 large eggs, separated
1 teaspoon pure vanilla extract
Canola oil (or butter– yeah, you know who you are), for cooking

The How-To:

Add flour, baking powder, baking soda, salt, brown sugar, and spices in a mixing bowl and stir to combine.

In another bowl, or large measuring cup, combine buttermilk, pumpkin puree, egg yolks, and vanilla.

Pour the liquid mixture into the dry ingredients. Don’t over stir. There should still be visible clumps of flour. Over-stirring is the killer for all pancake mixes.

Fold in the egg whites. They won’t combine all the way. You’ll still see a glossy shine on the top of the mixture, and that’s okay.

Let the batter to rest for about 10 minutes. This will make your batter fluffier. I learned this trick making cornbread. While you wait, wash the dishes and get the syrup ready!

Preheat a large cast iron skillet or griddle on medium-high heat

Add 1 tablespoon of canola or a tablespoon of butter.

To test the heat of your skillet, dab on a teeny-tiny pancake. When the batter starts to bubble, then your skillet is ready!

Add 1/4 cup portions of batter to the skillet.

Lower the heat to medium and cook until the batter starts to bubble.

When this happens, flip the pancakes and let them cook for 2-3 more minutes.

Set those pancakes aside (a plastic container with a lid will keep them warm), then re-grease your skillet. I do this between each batch. You might need to lower and then increase your heat if the skillet gets too hot.

Keep pumpkin pie pancaking away until you run out of batter!


Peep that cupcake…


IMG_3309

I saw this in a magazine last year and decided to make it — needless to say it was a little past Easter when I finally got around to Peeping up some cupcakes (but you know Peeps, they keep for, oh, eternity). I’m not a huge Peep fan, in fact, I’d say I am a mild Peep fan. However, the second it’s added to a cupcake, I’m all in. The cute factor just gets me…


IMG_3310


These were Lemon cupcakes with homemade chocolate frosting. I loved the idea of the citrus and chocolate and the lemon with the yellow Peep. All you do is make any cupcake you are craving, ice it like normal and then, drumroll please….you stick the Peep on top. It totally stays! I call that Peep-tastic! I did add little chocolate chips around the Peep to make a subtle nest, but you could go all out and add coconut shavings or other nest like edibles.


IMG_3312

Have a Sweet Spring!


The Official Hearty Eaters Food Club! Food that warms our bellies….

Image

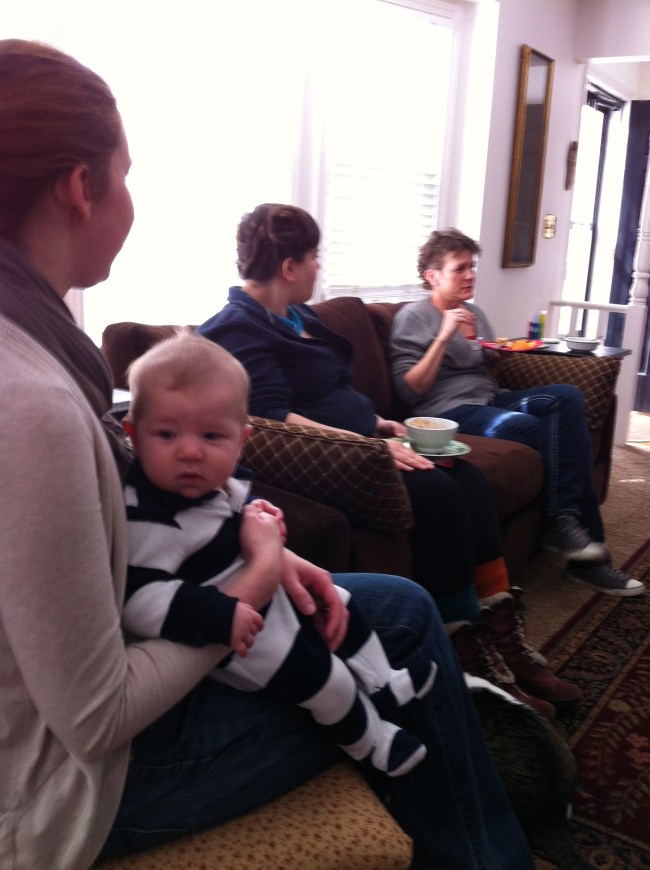
Several months ago I decided that I missed talking about food. I know that seems impossible, all I do is post about food, write food novels, and go to cooking school- but the truth is I rarely spend entire meal mostly talking about loving food. I remembered in the sixth grade, spending the night with my best friend and talking for hours about all the different kinds of candy we couldn’t wait to eat again (Hot Tamales, Reeses Peanut Butter Cups, Twix, Snickers, Butterfingers...) My 11-year-old foodie was looking to relive that yummy feeling– so voila! The Official Hearty Eaters Food Club was born.

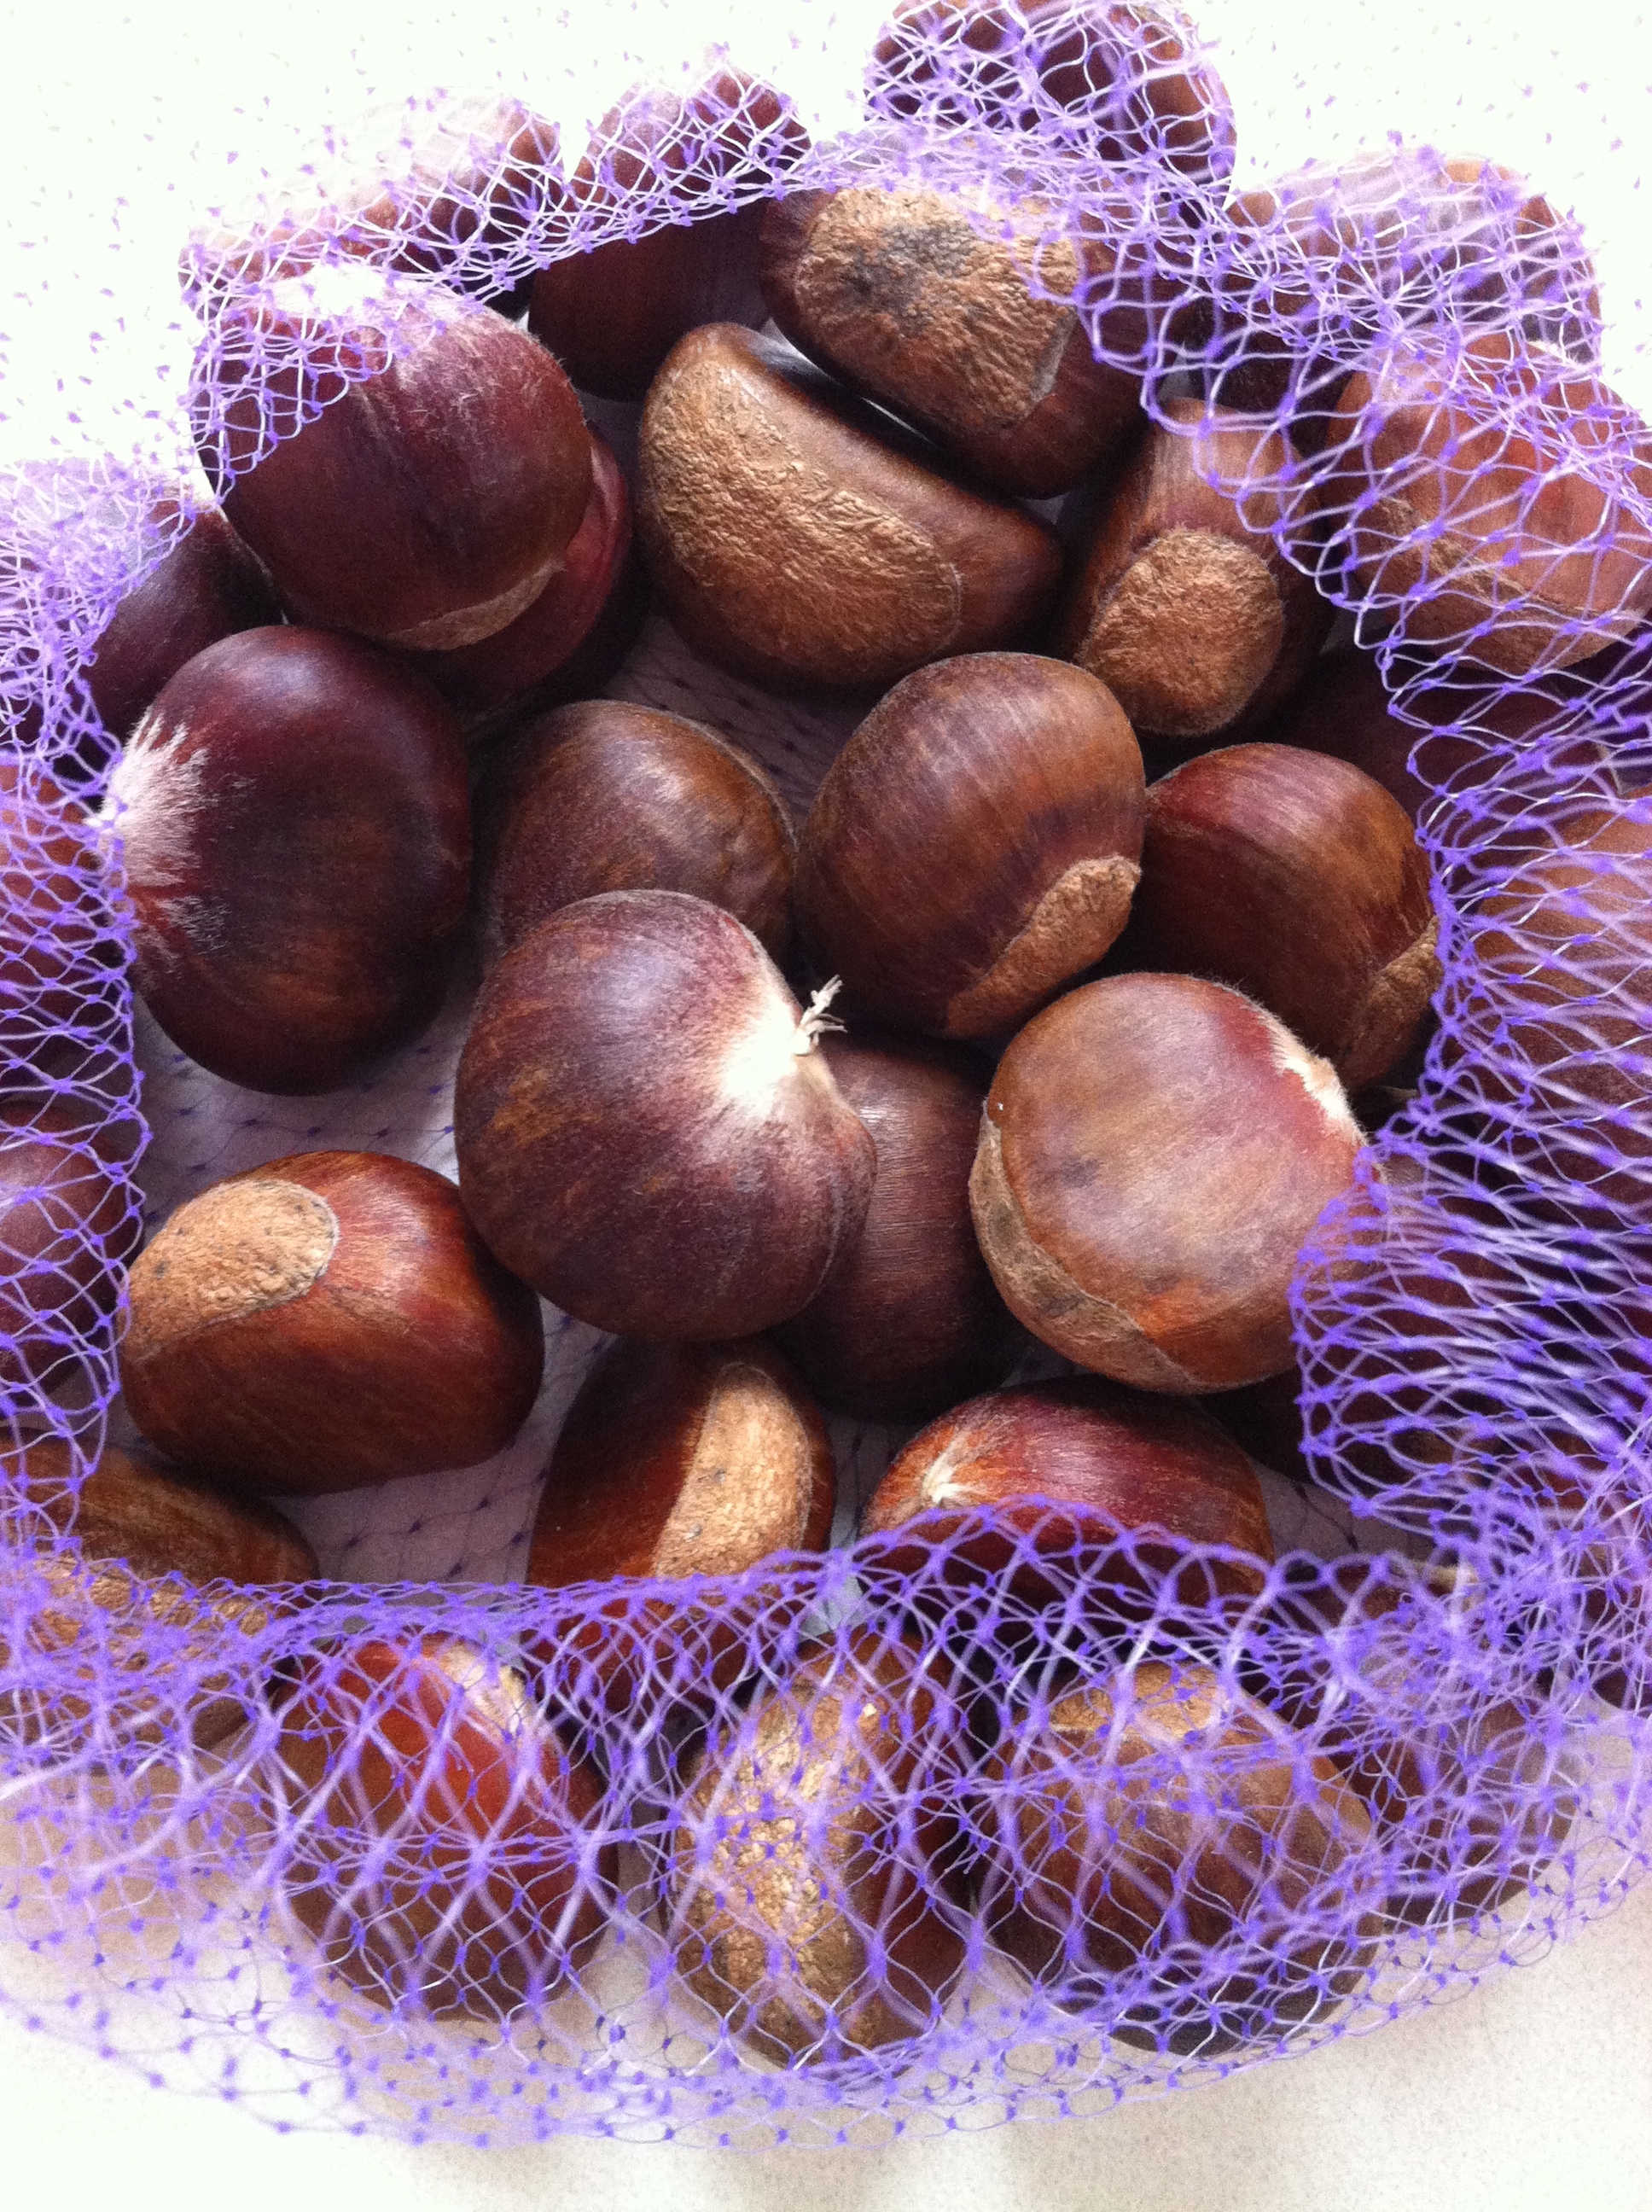
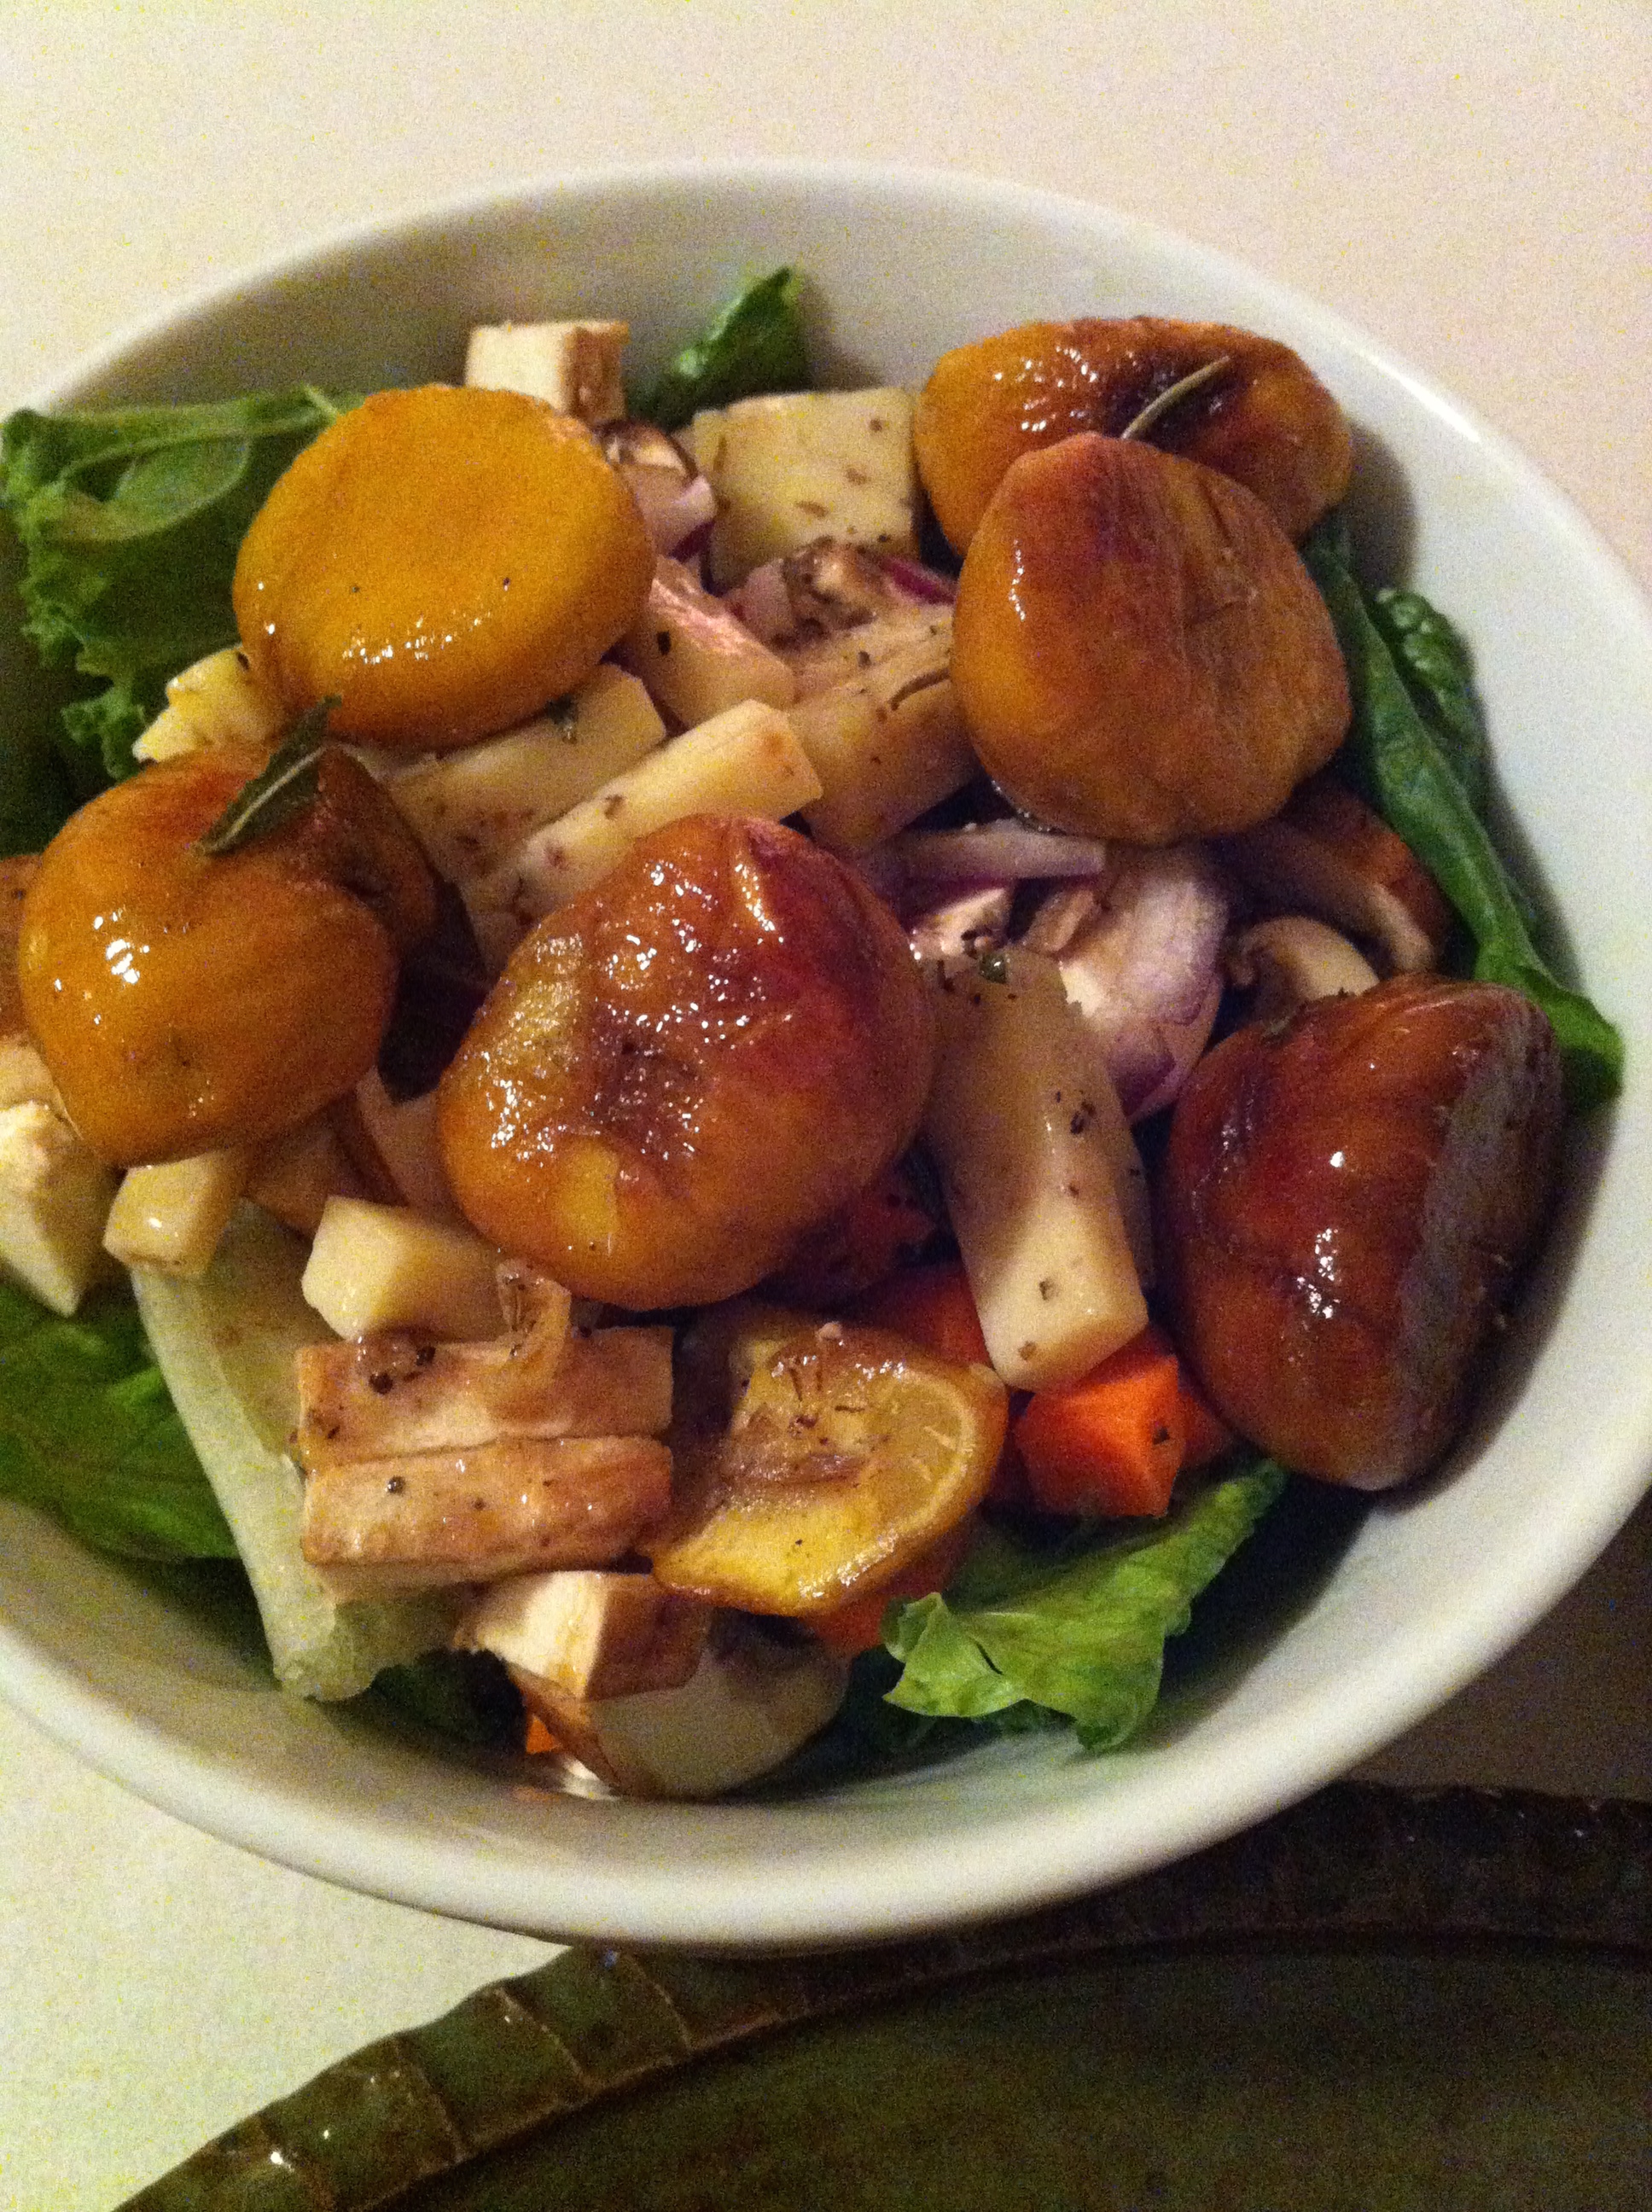
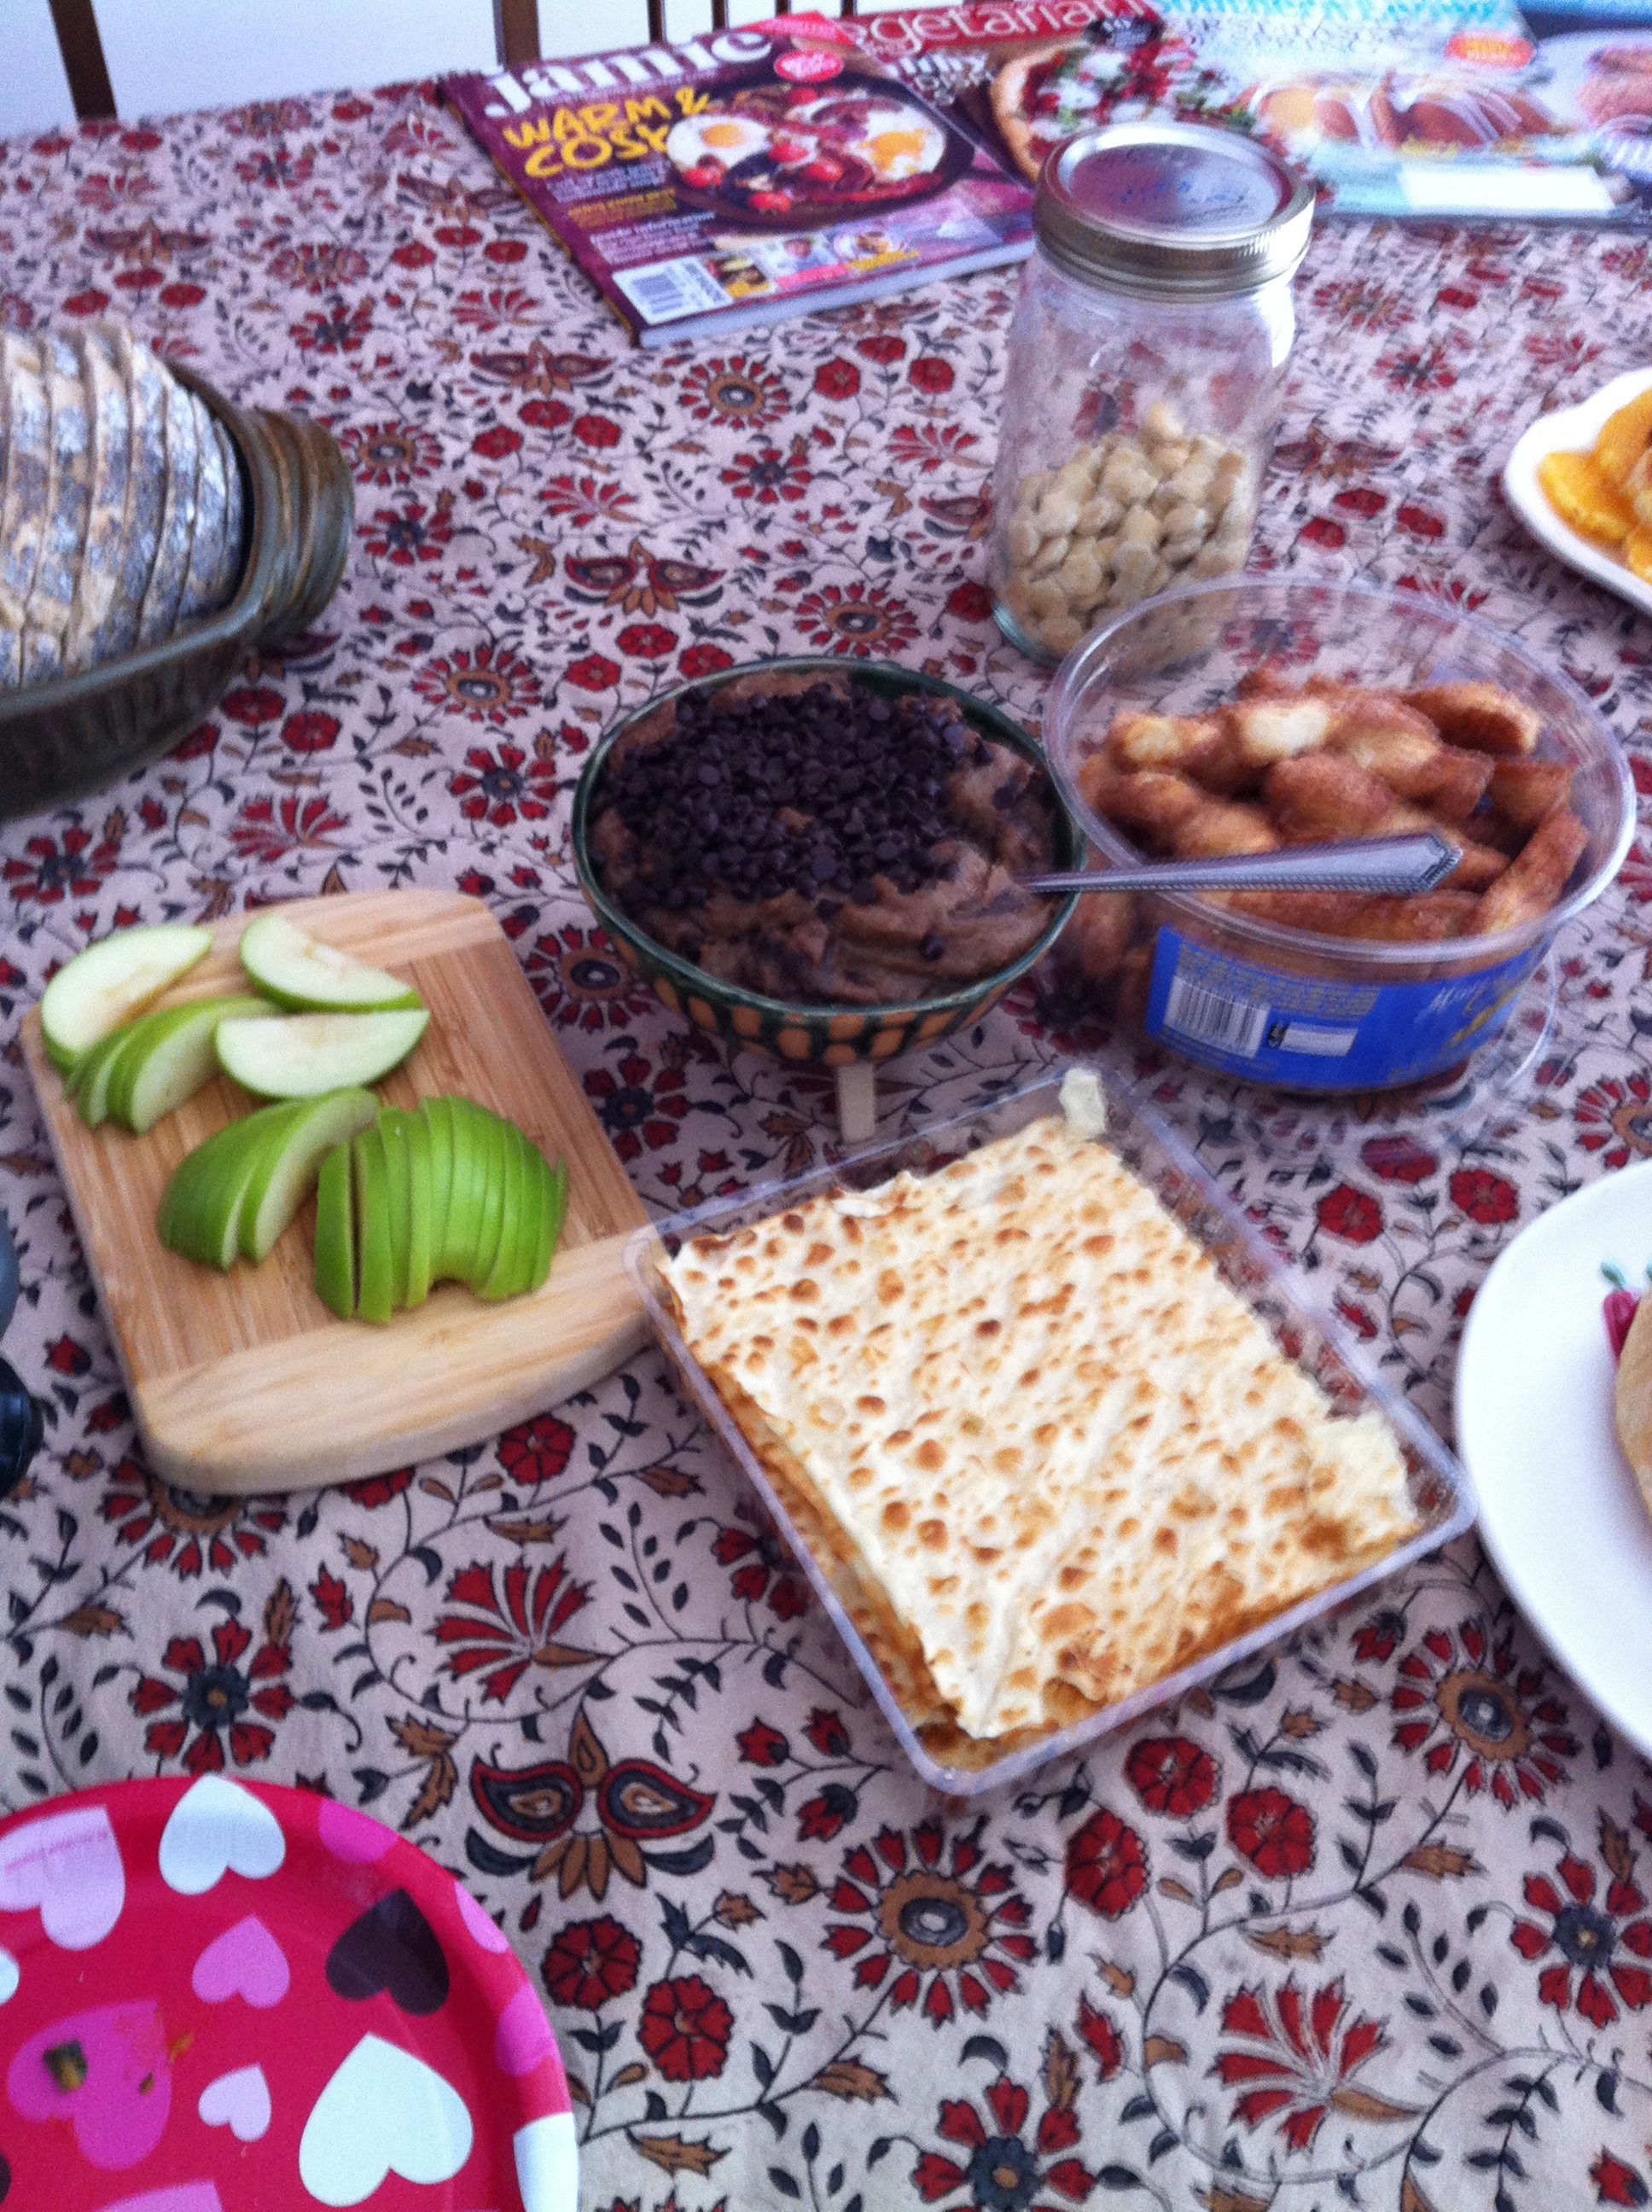
Our first feast was in February and the theme was “food that warms your belly.” It was a long lunch filled with restaurant recommendations, recipe ideas, mouth-watering food suggestions, and amazing potluck dishes. Below are pictures of the spread and recipes from the hearty eaters! Our spring feast will be coming up soon.I can’t wait talk about sugar snap peas….MAN, I just love those nasty, sweet, green little guys….

Image


Orange Wheels/Santre de Chakle

Prep time: 10 minutes, plus chilling

6 oranges
1/4 cup honey
Handful of Craisins
Generous sprinkling of cinnamon
1 1/2 tablespoons rose water
2 tablespoons orange juice
2 tablespoons Grand Marnier or other orange liqueur

Peel oranges. Slice each one into 4 or 5 rounds. Sprinkle with Craisins. Sprinkle with cinnamon or go crazy and use cloves. Mix honey, orange juice and Grand Marnier. Pour over oranges and chill for at least two hours. Serve chilled with juice.


Image

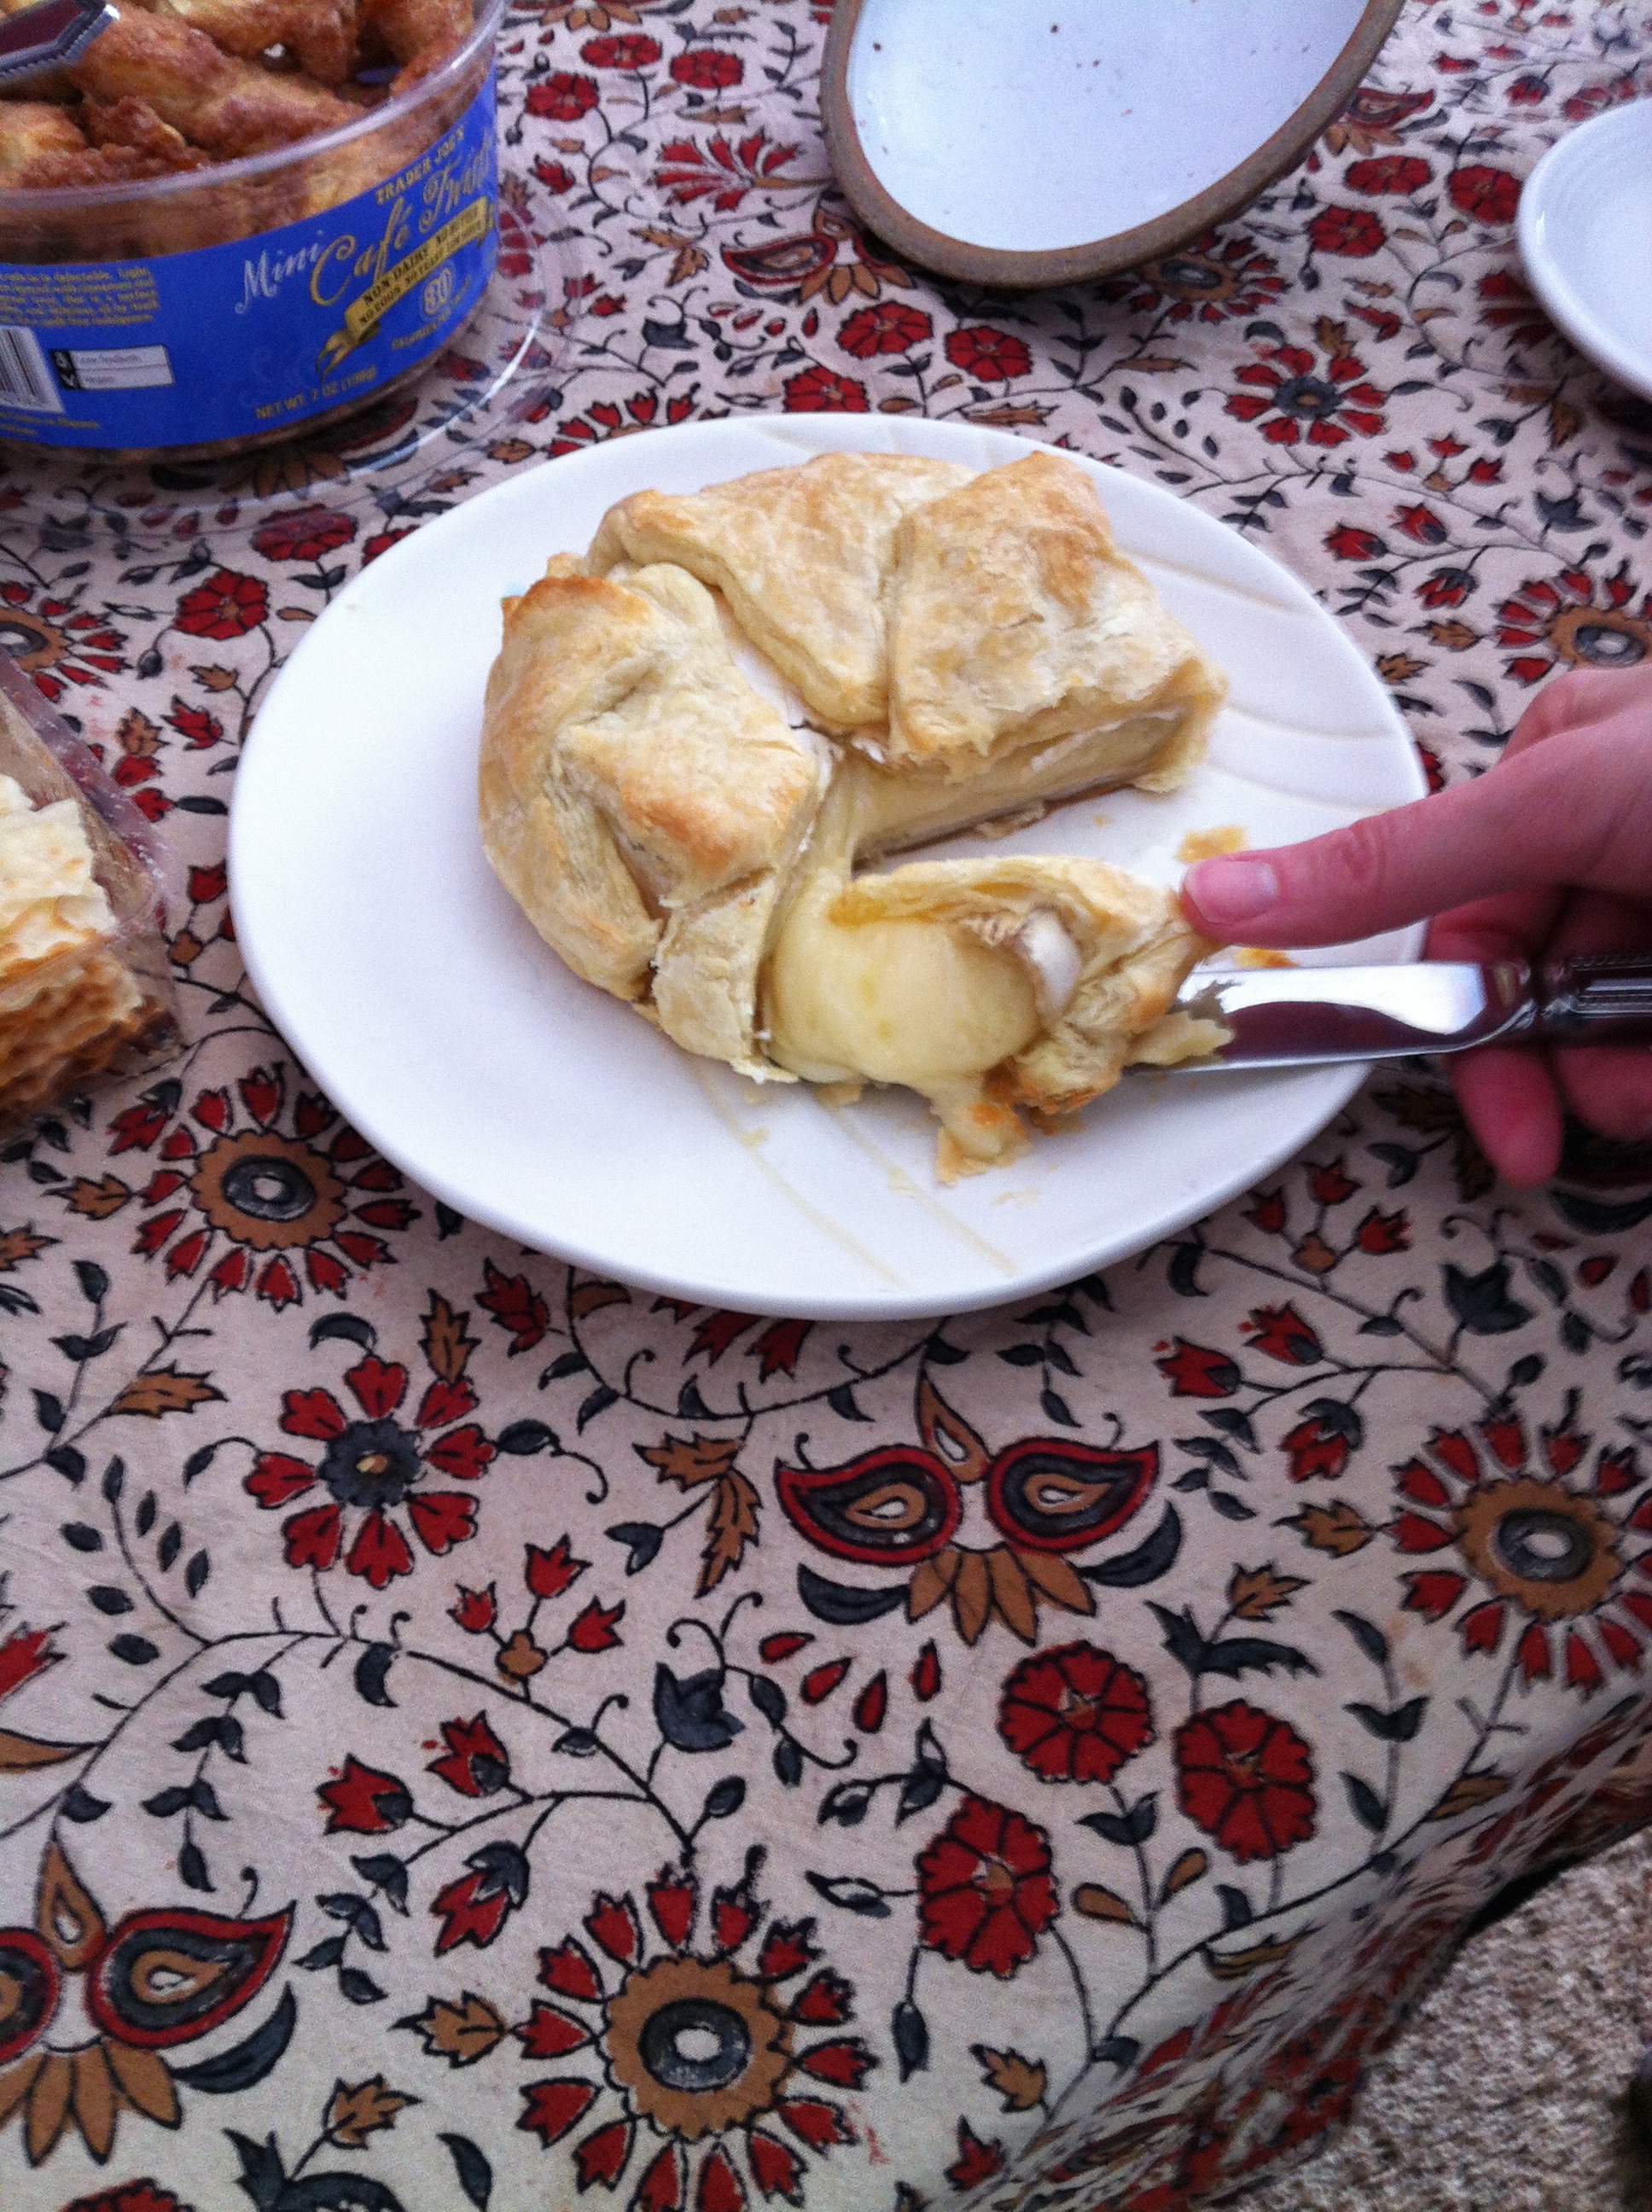
Baked Brie in Pastry

One package of Brie- any size or shape. Wheel or slice.

One package pepperidge farm puff pastry sheets.(in freezer dept)

Choose the amount of puff pastry sheet you will need from package. I soften in microwave in 15 sec increments so I can tear away the pieces I need. One reg wheel can take two pieces. Take pieces and wrap Brie up with them.

Preheat oven to 400. Cook on baking sheet (can lightly grease area where you place Brie to avoid sticking to sheet) for approximately 20 min. Watch for pastry to turn crispy golden brown.

Image


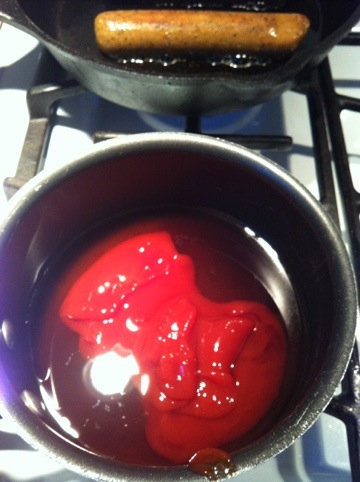
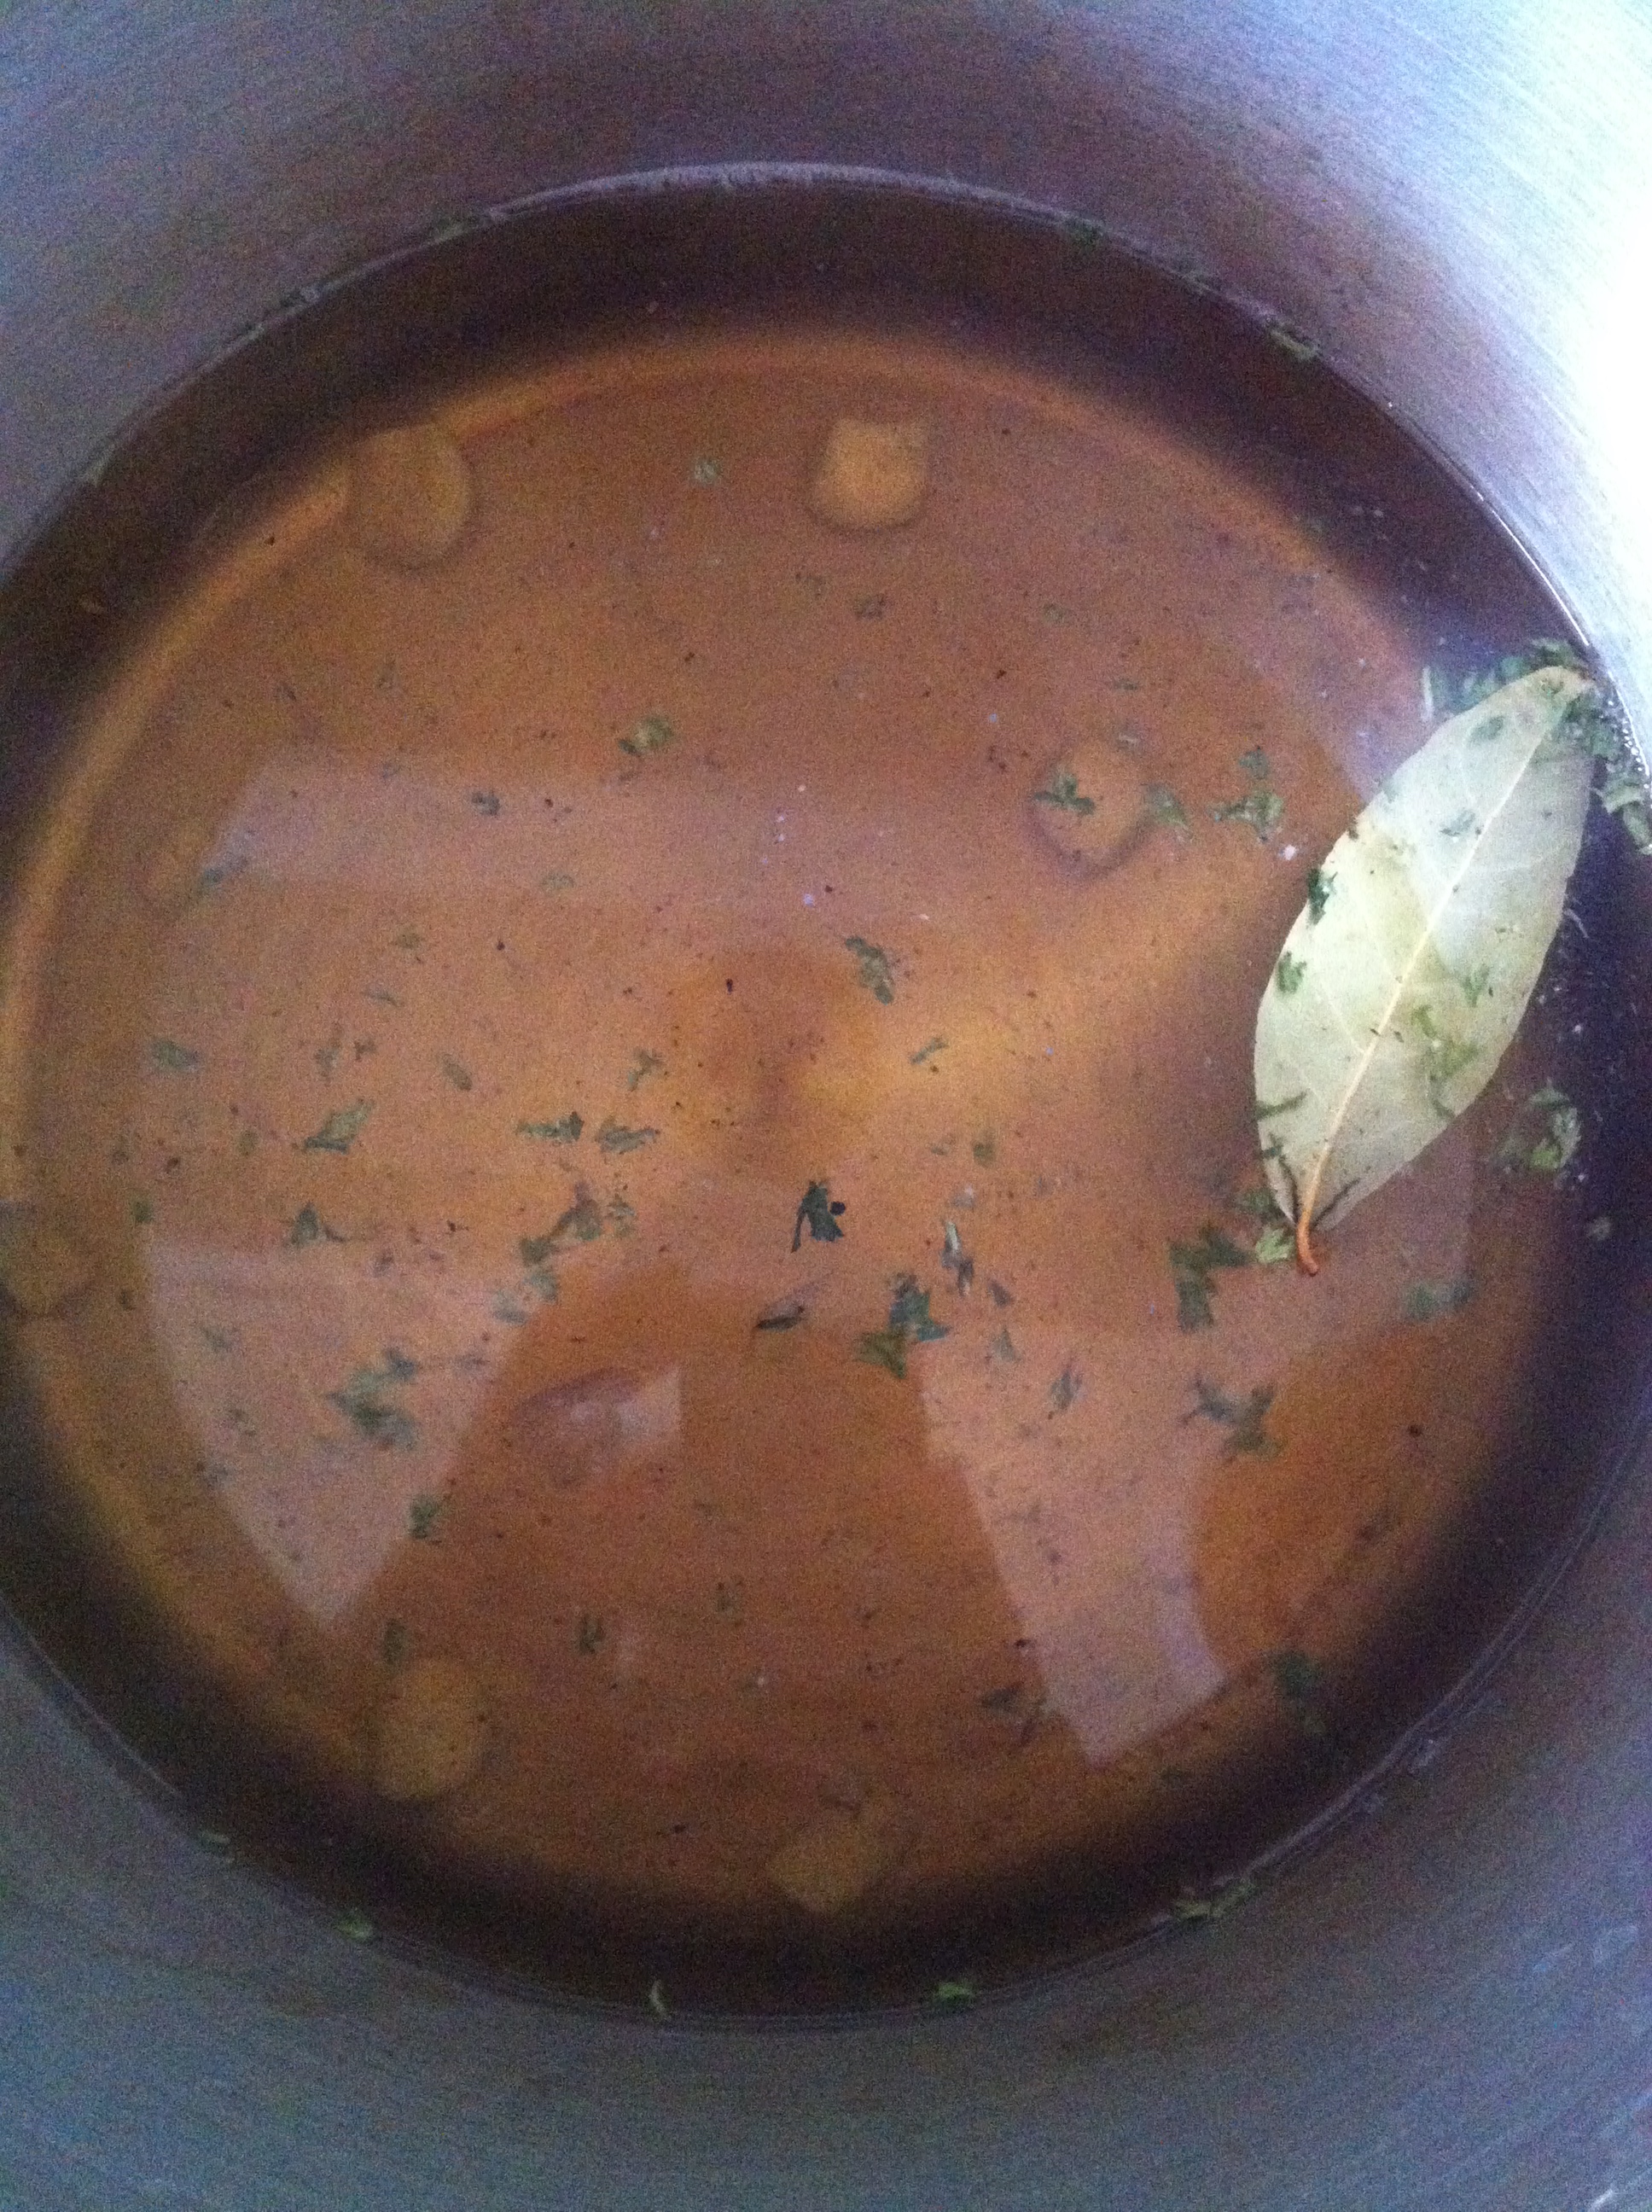
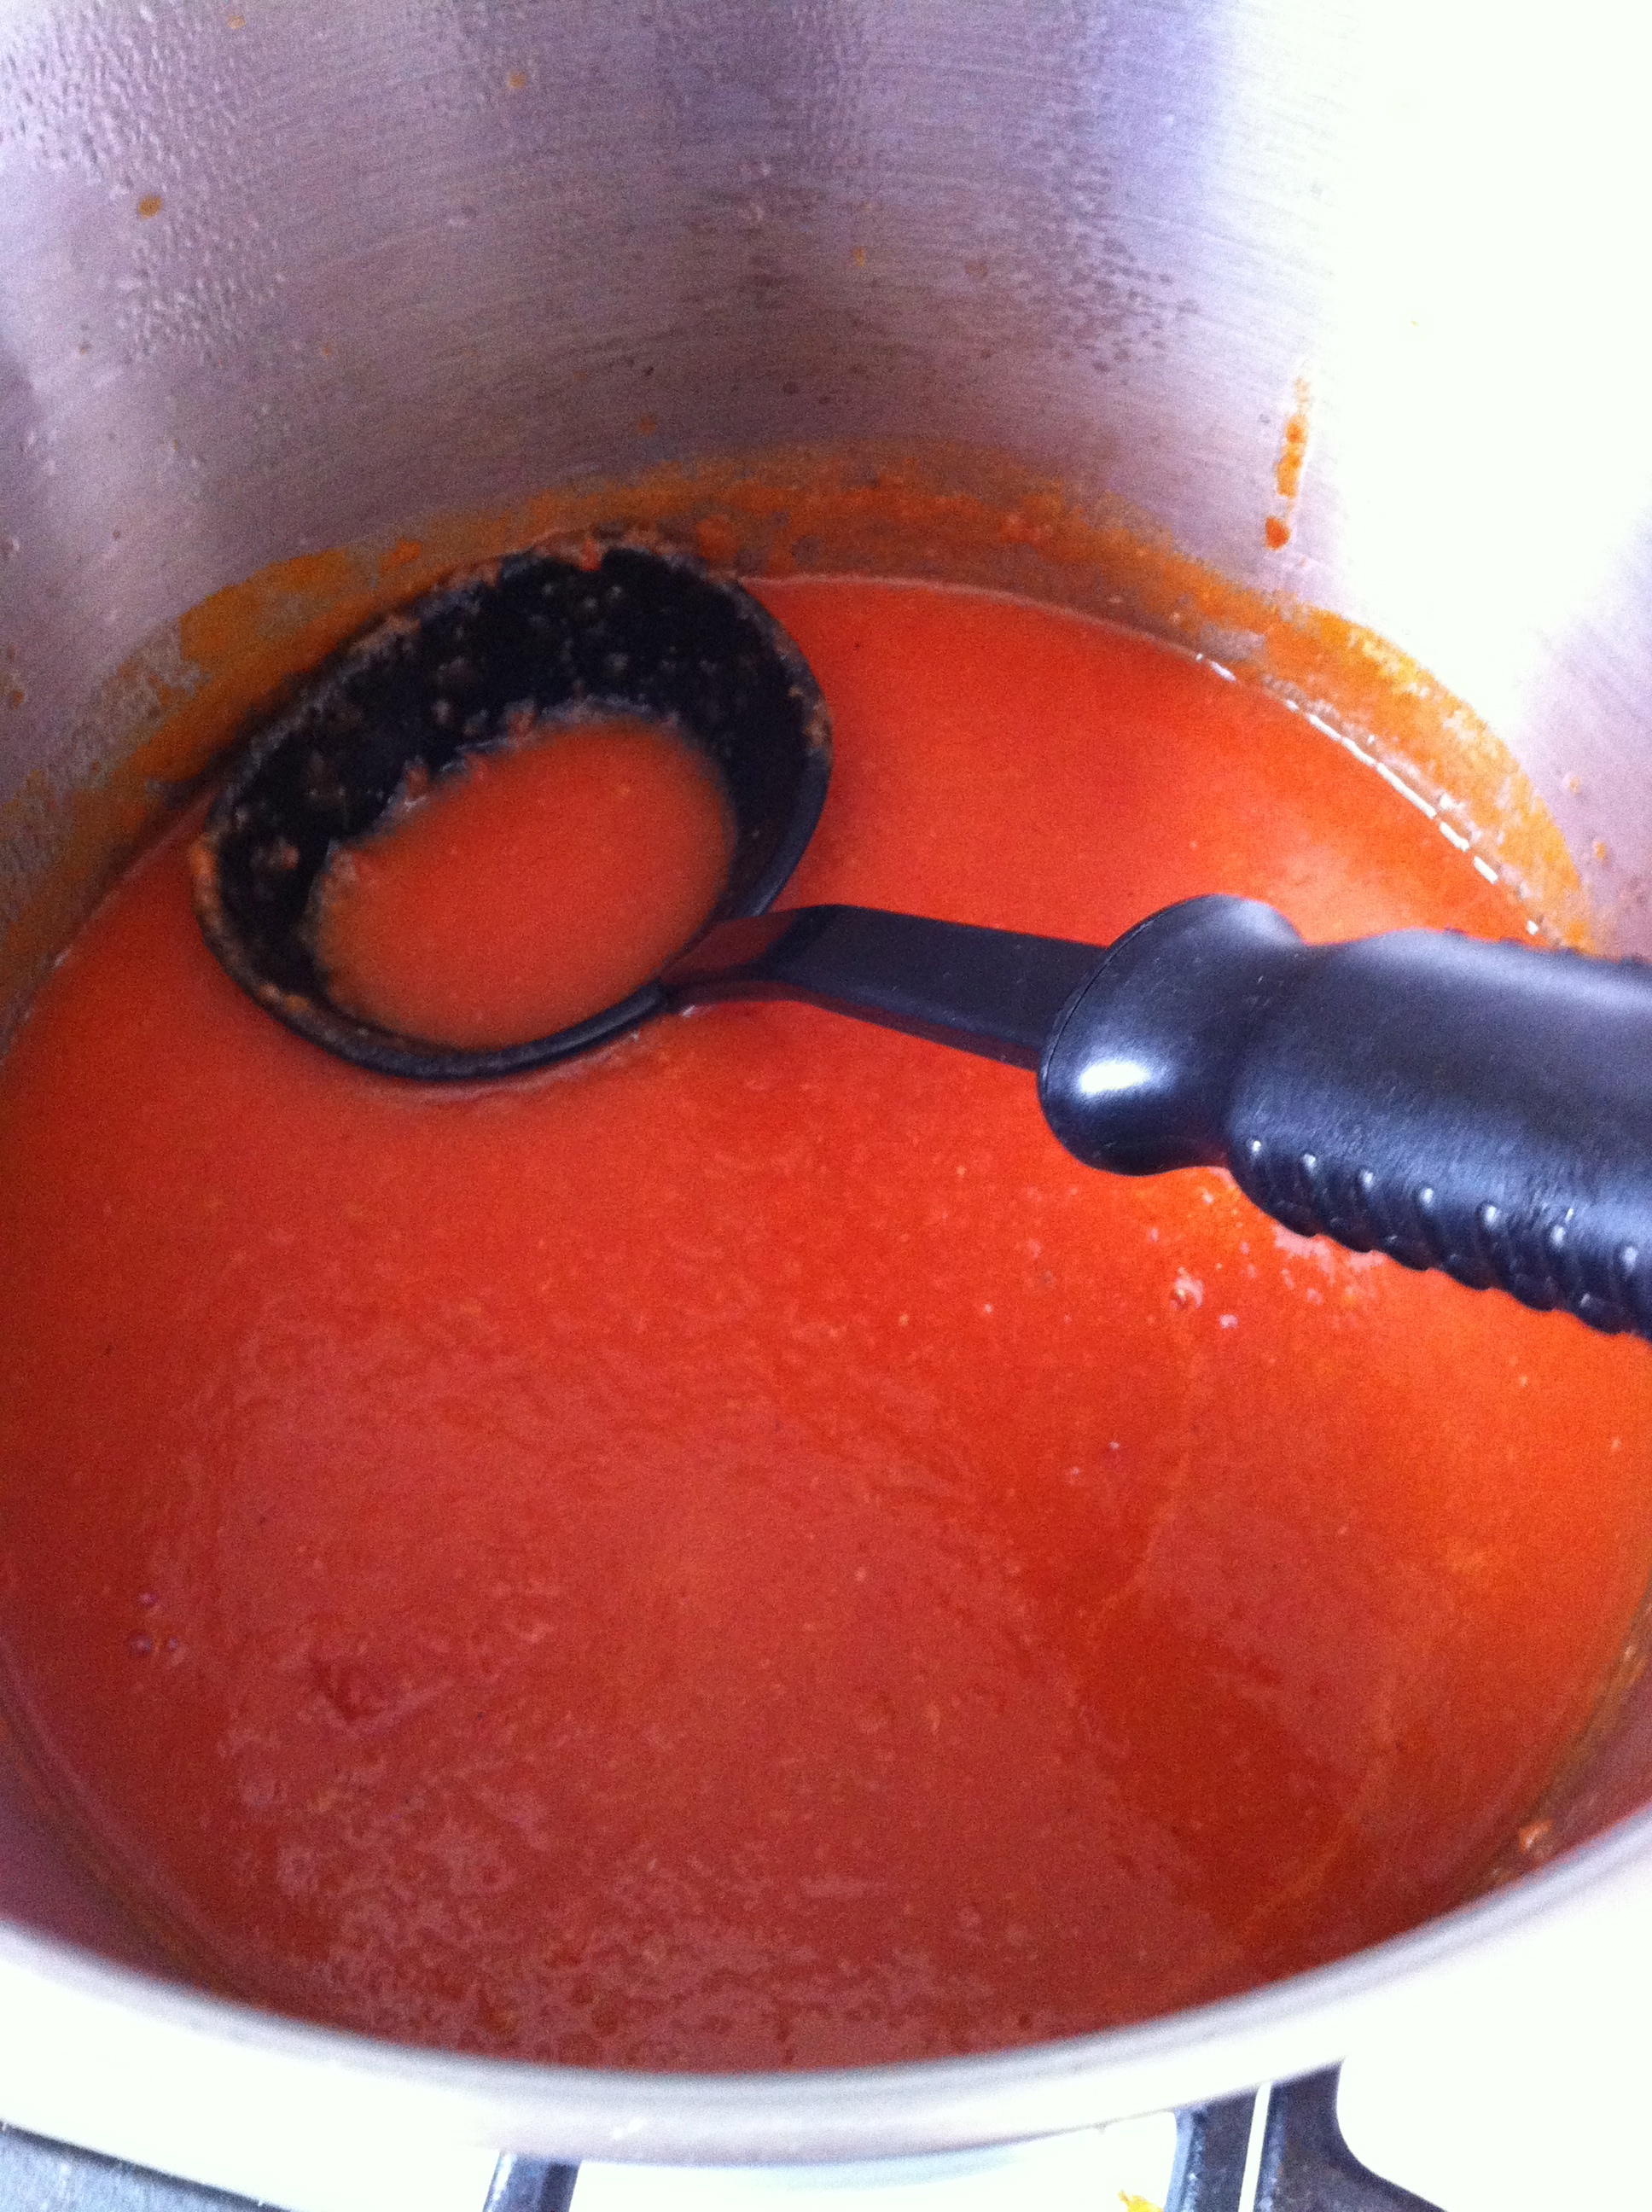
Creamless Creamy Tomato Soup

From The Complete America’s Test Kitchen TV Show Cookbook

Serves 6

¼ extra virgin olive oil, plus extra for drizzling

1 medium onion, chopped medium

3 medium garlic cloves, minced or pressed (about 1 tablespoon)

Pinch red pepper flakes (optional)

1 bay leaf

2 (28oz) cans whole tomatoes

3 slices high quality white sandwich bread, crusts removed, torn into 1 inch pieces

1 tablespoon brown sugar

2 cups low sodium chicken broth

2 tablespoon brandy (optional)

Salt and pepper to taste

¼ cup chopped fresh chives

  1. Heat 2 tablespoon of the oil in a large Dutch oven over medium high heat until shimmering. Add the onion, garlic, red pepper flakes (if using), and bay leaf. Cook stirring frequently, until the onion is translucent, 3 to 5 minutes. Stir in the tomatoes with their juice. Using a potato masher, mash until no pieces bigger than 2 inches remain. Stir in the bread and sugar and bring the soup to a boil. Reduce the heat to medium and cook, stirring occasionally, until the bread is completely saturated and starts to break down, about 5 minutes. Remove and discard the bay leaf.
  2. Transfer half of the soup to a blender. Add 1 tablespoon of oil and process until the soup is smooth and creamy. Transfer to a large bowl and repeat with the remaining soup and the remaining 1 tablespoon of oil. Rinse and dry the Dutch oven and return the soup to the pot. Stir in the chicken broth and brandy (if using). Return the soup to a boil and season with salt and pepper to taste. Ladle the soup into bowls, sprinkle with the chopped chives, drizzle with olive oil and serve. (The soup, minus the garnish, can be refrigerated in an airtight container for up to 2 days. Warm over low heat until hot, do not boil)

Image

COOKIE DOUGH DIP (from chocolatecoveredkatie.com)
Healthy Cookie Dough Dip
1 1/2 cups chickpeas or white beans (1 can, drained and rinsed very well) (250g after draining)
1/8 tsp plus 1/16 tsp salt
tiny bit over 1/8 tsp baking soda
2 tsp pure vanilla extract
1/4 cup nut butter of choice (You can get away with using only 3 tbsp. If you use peanut butter, it’ll have a slight “pb cookie dough” taste, so if you don’t want this, use a different nut butter –(Evie’s note: I whoosh up some walnuts in my food processor before I blend the dip and make walnut butter)
up to 1/4 cup milk of choice, only if needed
Sweetener of choice (see note below, for amount)
1/3 cup chocolate chips
2 to 3 tbsp oats (Evie’s note: I use ground flax)
Add all ingredients (except for chocolate chips) to a good food processor (not blender), and blend until very smooth. Then mix in the chocolate chips.
If made correctly and blended long enough, this should have the exact texture of real cookie dough!

Sweetener Notes: I used 2/3 cup brown sugar when I first made this for the party. Liquid sweeteners (agave, maple, etc.) are fine as well, as is evaporated cane juice. You can easily get away with less sugar– some people will be perfectly fine with just 3 tbsp for the whole recipe! And if you don’t want any sugar, you can also use stevia, if you like the taste of stevia-sweetened desserts. Try 2-3 packets of NuNaturals stevia, and add more sweetener if needed. I wouldn’t recommend serving an all-stevia version to party guests, though.

Image

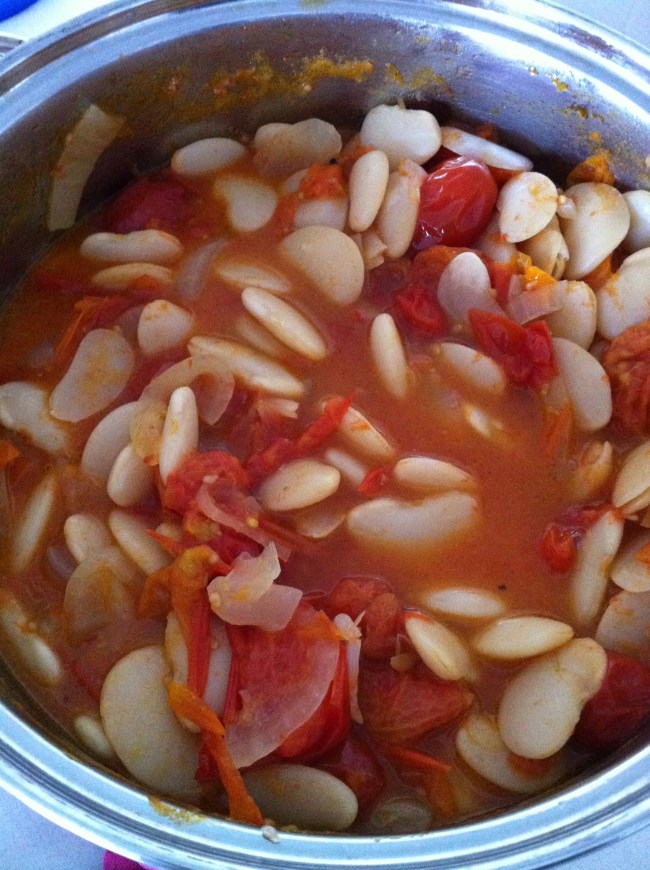
Tomatoey Butter Beans

4 servings

2 TBSP Olive Oil

1 Large onion, sliced

2 Garlic cloves, diced

1 TBSP tomato paste

2 Cups of chopped tomatoes (sometimes I use three…just sayin)

1LB Large Butter Beans/lima beans (dried or canned– if dried, soak overnight before cooking)

Heat the oil in a pan over a gentle heat. Add the onion and garlic, cook for 10 mins until very soft and turning golden. Add the tomatoes, beans and paste. Sinner for 20 mins, adding a little more water (or red wine, or more tomatoes) if it gets too dry. Serve with crusty toast!

Image

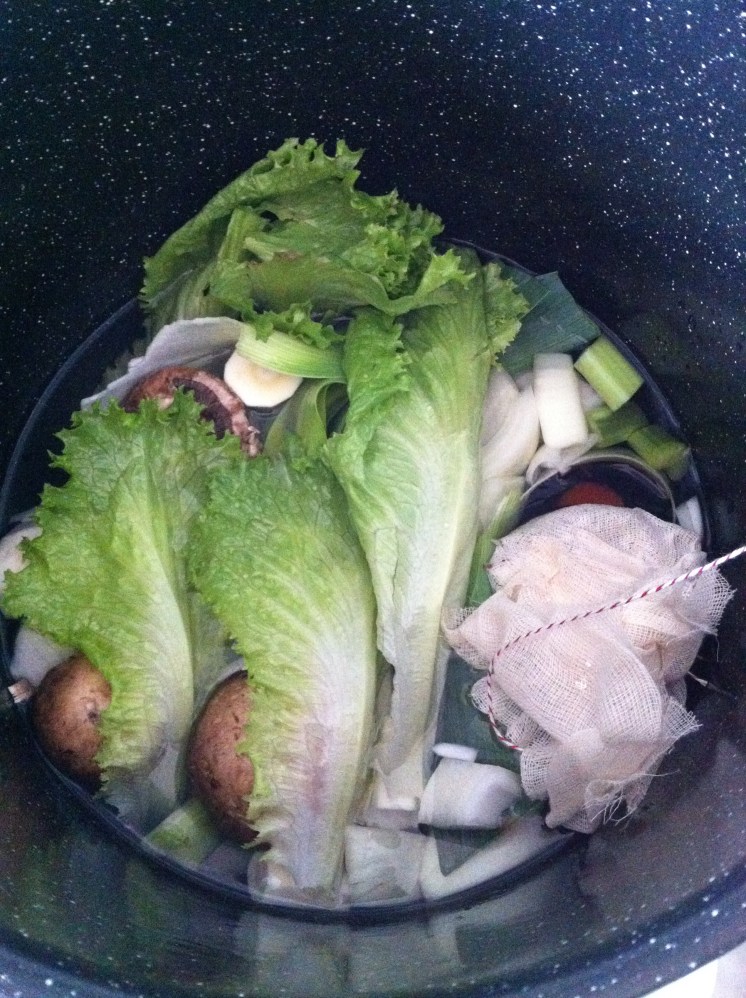
Black Eyed Pea Curry with Collards and Potatoes

(from: http://www.theppk.com/2014/01/black-eyed-pea-curry-with-collards-potatoes/)

1 tablespoon coconut oil
1 large red onion, thinly sliced
2 jalapenos, seeded and thinly sliced
1 tablespoon fresh minced ginger
2 cloves garlic, minced
1 1/2 to 2 tablespoons mild curry powder
1/2 teaspoon garam masala
3/4 teaspoon salt
1 tablespoon agave
3 cups vegetable broth
2 tablespoons tomato paste
1 1/2 lbs red potatoes, in 3/4 inch pieces

1 lb collards, rough stems removed, leaves chopped into bite sized pieces
1 cup coconut milk
1 1/2 cups cooked black eyed peas (from a 15 oz can, rinsed and drained)

To serve: Basmati rice
Optional garnish: Fresh chopped cilantro

Preheat a 4 quart pot over medium heat. Saute the onion and jalapeno in the coconut oil for 5 to 7 minutes, until onion is lightly browned.

Add the garlic and ginger, and saute until fragrant, about 30 seconds. Add 1 1/2 tablespoons of curry powder, garam masala, salt, vegetable broth, agave, and tomato paste, and stir. The tomato paste may not dissolve just yet but that’s ok, it will when it heats through.

Add the potatoes, cover pot and bring to a boil. Once boiling, immediately lower heat to a simmer, and leave the lid ajar so that steam can escape. Let potatoes cook just until tender, about 5 more minutes.

Once potatoes are fork tender, add the collards, black-eyed peas and coconut milk. Stir gently to incorporate. Leave lid ajar again, and bring to a simmer. Let simmer just until collards are tender, it should only take a few minutes.

Turn off heat and taste for salt and spices. Add remaining curry powder if needed. It tastes best if you let it sit for 10 minutes or so, but if you can’t wait then just dig in!

Serve over basmati rice.

Image

Nothing beats homemade mac and cheese!

Image

Image

Can’t wait to nibble again soon!


My favorite food from last week- My Love is a Heart-shaped Pizza

20140217-160732.jpg

Every year John and I get a heart-shaped pizza during Valentine’s week. This year we hit a pizza roadblock- our usual place we ordered them from wasn’t offering them anymore.

What to do? I spent all week googling and found a few other options, but they all had a snag- one only had pepperoni and the other did have a convenient location.

So I just decided to make my own. Our Whole Foods has fantastic dough in the freezer and fresh sections. I buy it a lot. So instead of making our usual Friday night circle, I put a few strategic dents in the dough and made a heart.

I’ve found that getting my dough back to room temperature really helps with the shaping. I’ll just crack the lid and let it sit on the counter for an hour or more. JY had all cheese on his half and I had grilled pineapple, green peppers and Italian marinated beans (it’s good!!) on mine.

True love is the good kind of cheesy.

From grits to donuts, it’s a work food smorgasbord!

20140217-153943.jpg
So, I’m part of this new-ish team at work and for one of our first meetings, we were all asked to bring a food that represented us and the “why” story behind it.

I thought, okay, the odds are good that a few people will bring something and then reluctantly tell a story. Boy, was I wrong. Everyone brought something. It was the biggest work feast I’ve seen in a long time AND people took the stories pretty seriously.

20140217-154440.jpg

Now when I run into people I’m going to always associate them with cinnamon Pop Tarts, or French crepes, or salsa….Ah, food- you are the great connector.

What did I bring? I debated this. Pie is an obvious choice. My life has become about pie, that’s for sure. A pot of British Tea was my go-to if all else failed. I do love my tea. Then the meeting got snowed out and moved to a Thursday, so the fates told me what food represented me best…

20140217-155053.jpg

I am the pancake and the pancake is me.