

Make Your Own Valentine’s Day Pizza!
Years ago I started buying heart-shaped pizza on Valentine’s Day. I can’t remember the pizza chain that started selling it in town, but there was only one. My sweetheart is a pizza lovin’ guy, so it was a perfect match. Of course, right after you get a tradition started then BAM, that single pizza place stops selling my got-to heart day meal.
Never daunted by food challenges, I decided to heck with delivery, I’m just gonna make my own.
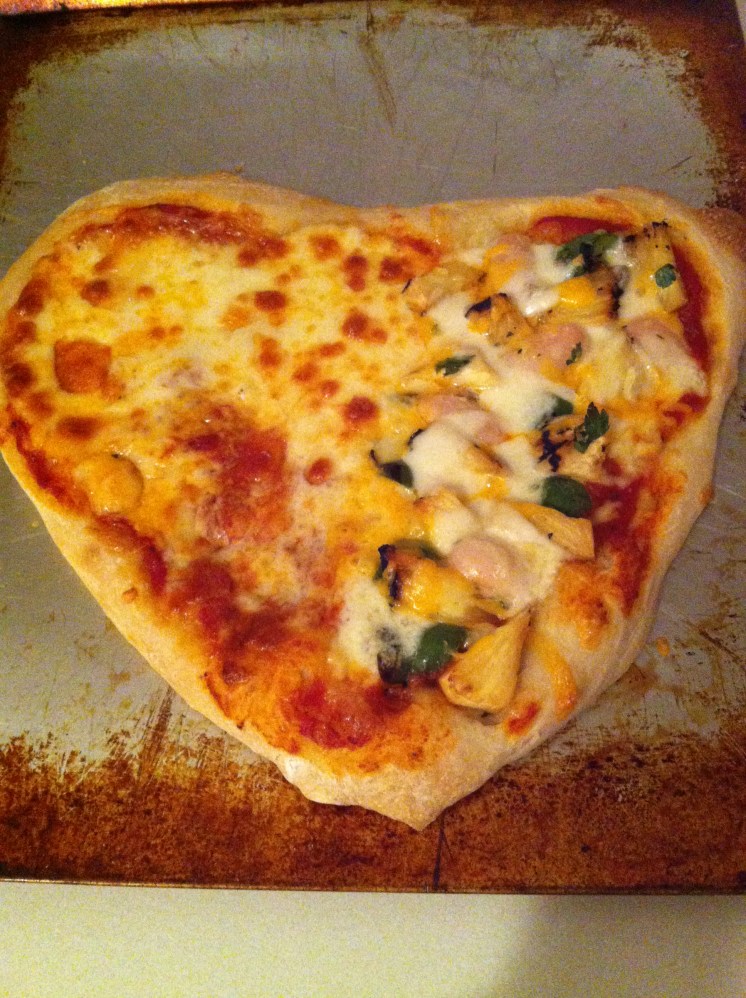
Heart Day Pizza Melts My…Cheese, Of Course.
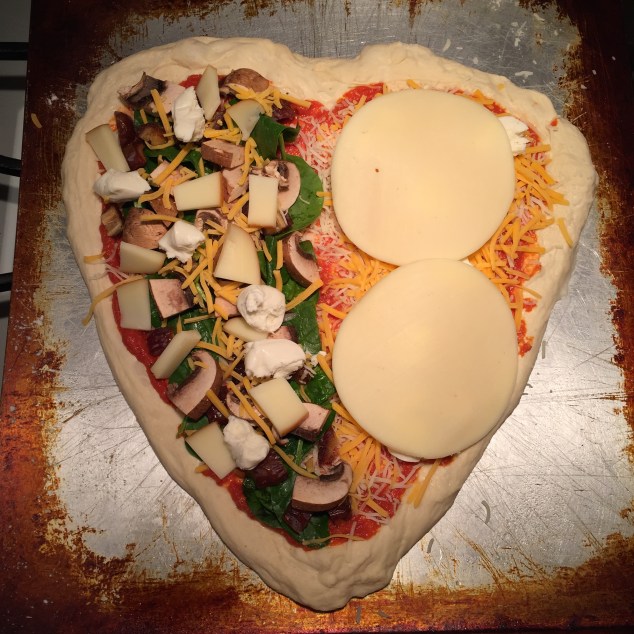
Heart-Shaped Pizza Dough: Before
And as if cupid predicted it– making your own heart-shaped pizza is easy. All you have to do is buy pre-made pizza dough at the grocery story and stretch it into the heart shape. What I love about it is that I can make it like a friendship necklace heart; all cheese on one side for my sweetie and lots of veg on the other side for me. These days lots of chain pizza places make heart-shaped meals, but it’s a little more meanginfull when it’s your un-imprefect heart melting with cheesy goodness.
The Trick to Stretching Pizza Dough…
Julia Child taught me this one. To get that specific heart shape, you have to let the dough rest. Here’s what I do…
- Flour the dough a little, about 2 tablespoons.
- Drape it over the palm of one hand and gently stretch it into a circle with the other.
- Lay it down on your cookie sheet.
- Start to gently pull and stretch it into a heart, BUT…
- Always let the dough rest after each pull. Count to 20, or recite romantic poetry, or something.
Letting the dough rest gives it time to accept the shape you’re pulling it into. Making a heart takes several stretches and pulls, but don’t forget, this is for your true love, so it’s totally worth it.

Heart-Shaped Pizza Dough: After

