Super Bowl Drunken Hot Dogs

Got any Super Food traditions for the Super Bowl? I do! Here’s my favorite recipe for the America’s favorite Un-Holiday.

Hearty Eaters

For as long as I can remember we’ve had drunken hot dogs as a Farris family Super Bowl tradition. I made them vegetarian this year with tofurkey kielbasa hot dogs.

Here’s the recipe:
1/2 cup brown sugar

20120205-194030.jpg

Add a half a cup of bourbon.

20120205-194116.jpg

Add a half a cup of ketchup.

20120205-194215.jpg

Stir together and simmer on low.

20120205-194257.jpg

For the veggie dogs, I sautéed them first in some oil then add them to the simmering sauce pan. This made them crispy on the outside before getting doused in bourbon goodness. For regular hot dogs you can just cut up a package of uncooked hot dogs into bite sized pieces and put them in the sauce. The veggie dogs should be in bite sized chunks too.

20120205-194733.jpg

Let them simmer for 15 to 30 minutes. You can also use a small crock pot to keep them warm. I always eat mine with toothpicks-…

View original post 14 more words

Advertisement

First you stock, then you broth, and finally, you garlic noodle soup.

IMG_7340

I had no idea until I took a professional cooking class that there’s a difference between stock and broth. Straight from the ladle, here’s what The Professional Chef textbook says…

“The major distinction between broths and stocks is that broths can be served as is, whereas stocks are used in the production of other dishes.”

So throughout my whole cooking life I’d been making stocks and calling them broths. I know that in the grand scheme of things what happens between you and your stock pot is just between you and your stock pot, BUT I decided to walk myself through both to make sure I really understood the difference.

Vegetable Stock:

IMG_7332

Because I’m a vegetarian making good veggie stock is a priority (and a challenge). I’ve found the more veg I stick in the pot, the better the flavor. I used to put in whatever I had in the fridge, but now I stick to non-starchy veg to help keep my stock clear(er). All chefs want clear stock. I think of it like a painter having perfect paints. I didn’t even know stock was supposed to be clear until I put on a chef’s jacket, so clear stock could be a low-totem pole concern in your kitchen, and that is totally fine. I hover somewhere between clear and slightly cloudy, but that’s just my style.

Vegetable Stock: 1 Gallon

(Making 1 gallon is a good way to go. You can freeze the stock and use it for other recipes)

Ingredients:

*5 lbs of non-starchy vegetables– I use a combination of lettuce, mushroom, leek, white onion, carrot, celery. You can chop or put the vegetables in whole. I often do a mix, but if you do chop your veg, make sure to chop larger pieces (it’ll help with fishing them out later). And okay, I do put a parsnip in there. It breaks the non-starch rule, but that’s why my stock is always on the (er) side of clear.

*5 quarts of cold water – Cold water is key because you want your veg and water to start out at the same temperature.

*1 Standard Sachet d’Epices- A sachet d’epices is a small bundle of cheese cloth that contains, a sprig of thyme (1 teaspoon), 2-4 parsley stems (2 teaspoons), 1 bay leaf, 1 teaspoon of cracked peppercorns, and 1 garlic clove (optional). You put all that in the cheese cloth and tie it off with cooking string, essentially making a teabag for your stock. You can always forgo the fancy and put the spices directly into the stock. Again if you want clear stock, you shouldn’t just toss in the spices, but you can join me in the (er) camp any time you like!

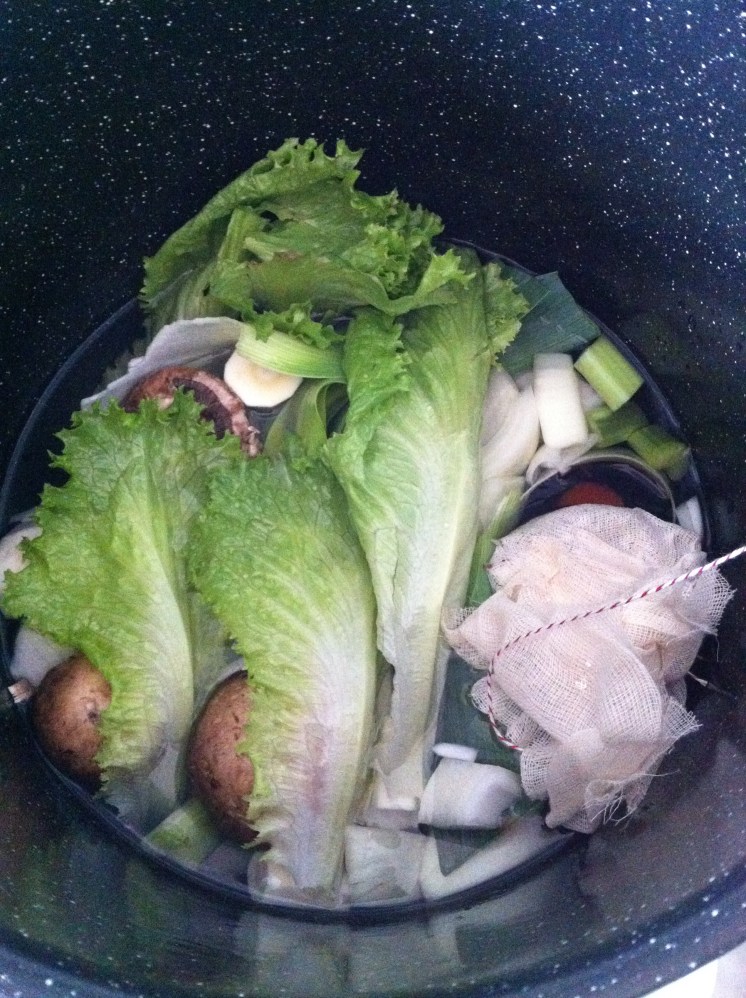
Vegetable Stock How-To:

*Place the water, spices and veg in a stock pot.

*Bring to a simmer.

*As the stock simmers, you’ll see bubbles gathering on the surface of the stock. It kind of looks like bubbles in a bubble bath or froth. Use a mesh strainer or spoon to skim the bubbles off (this again is for the sake of clearness).

*Simmer for an hour.

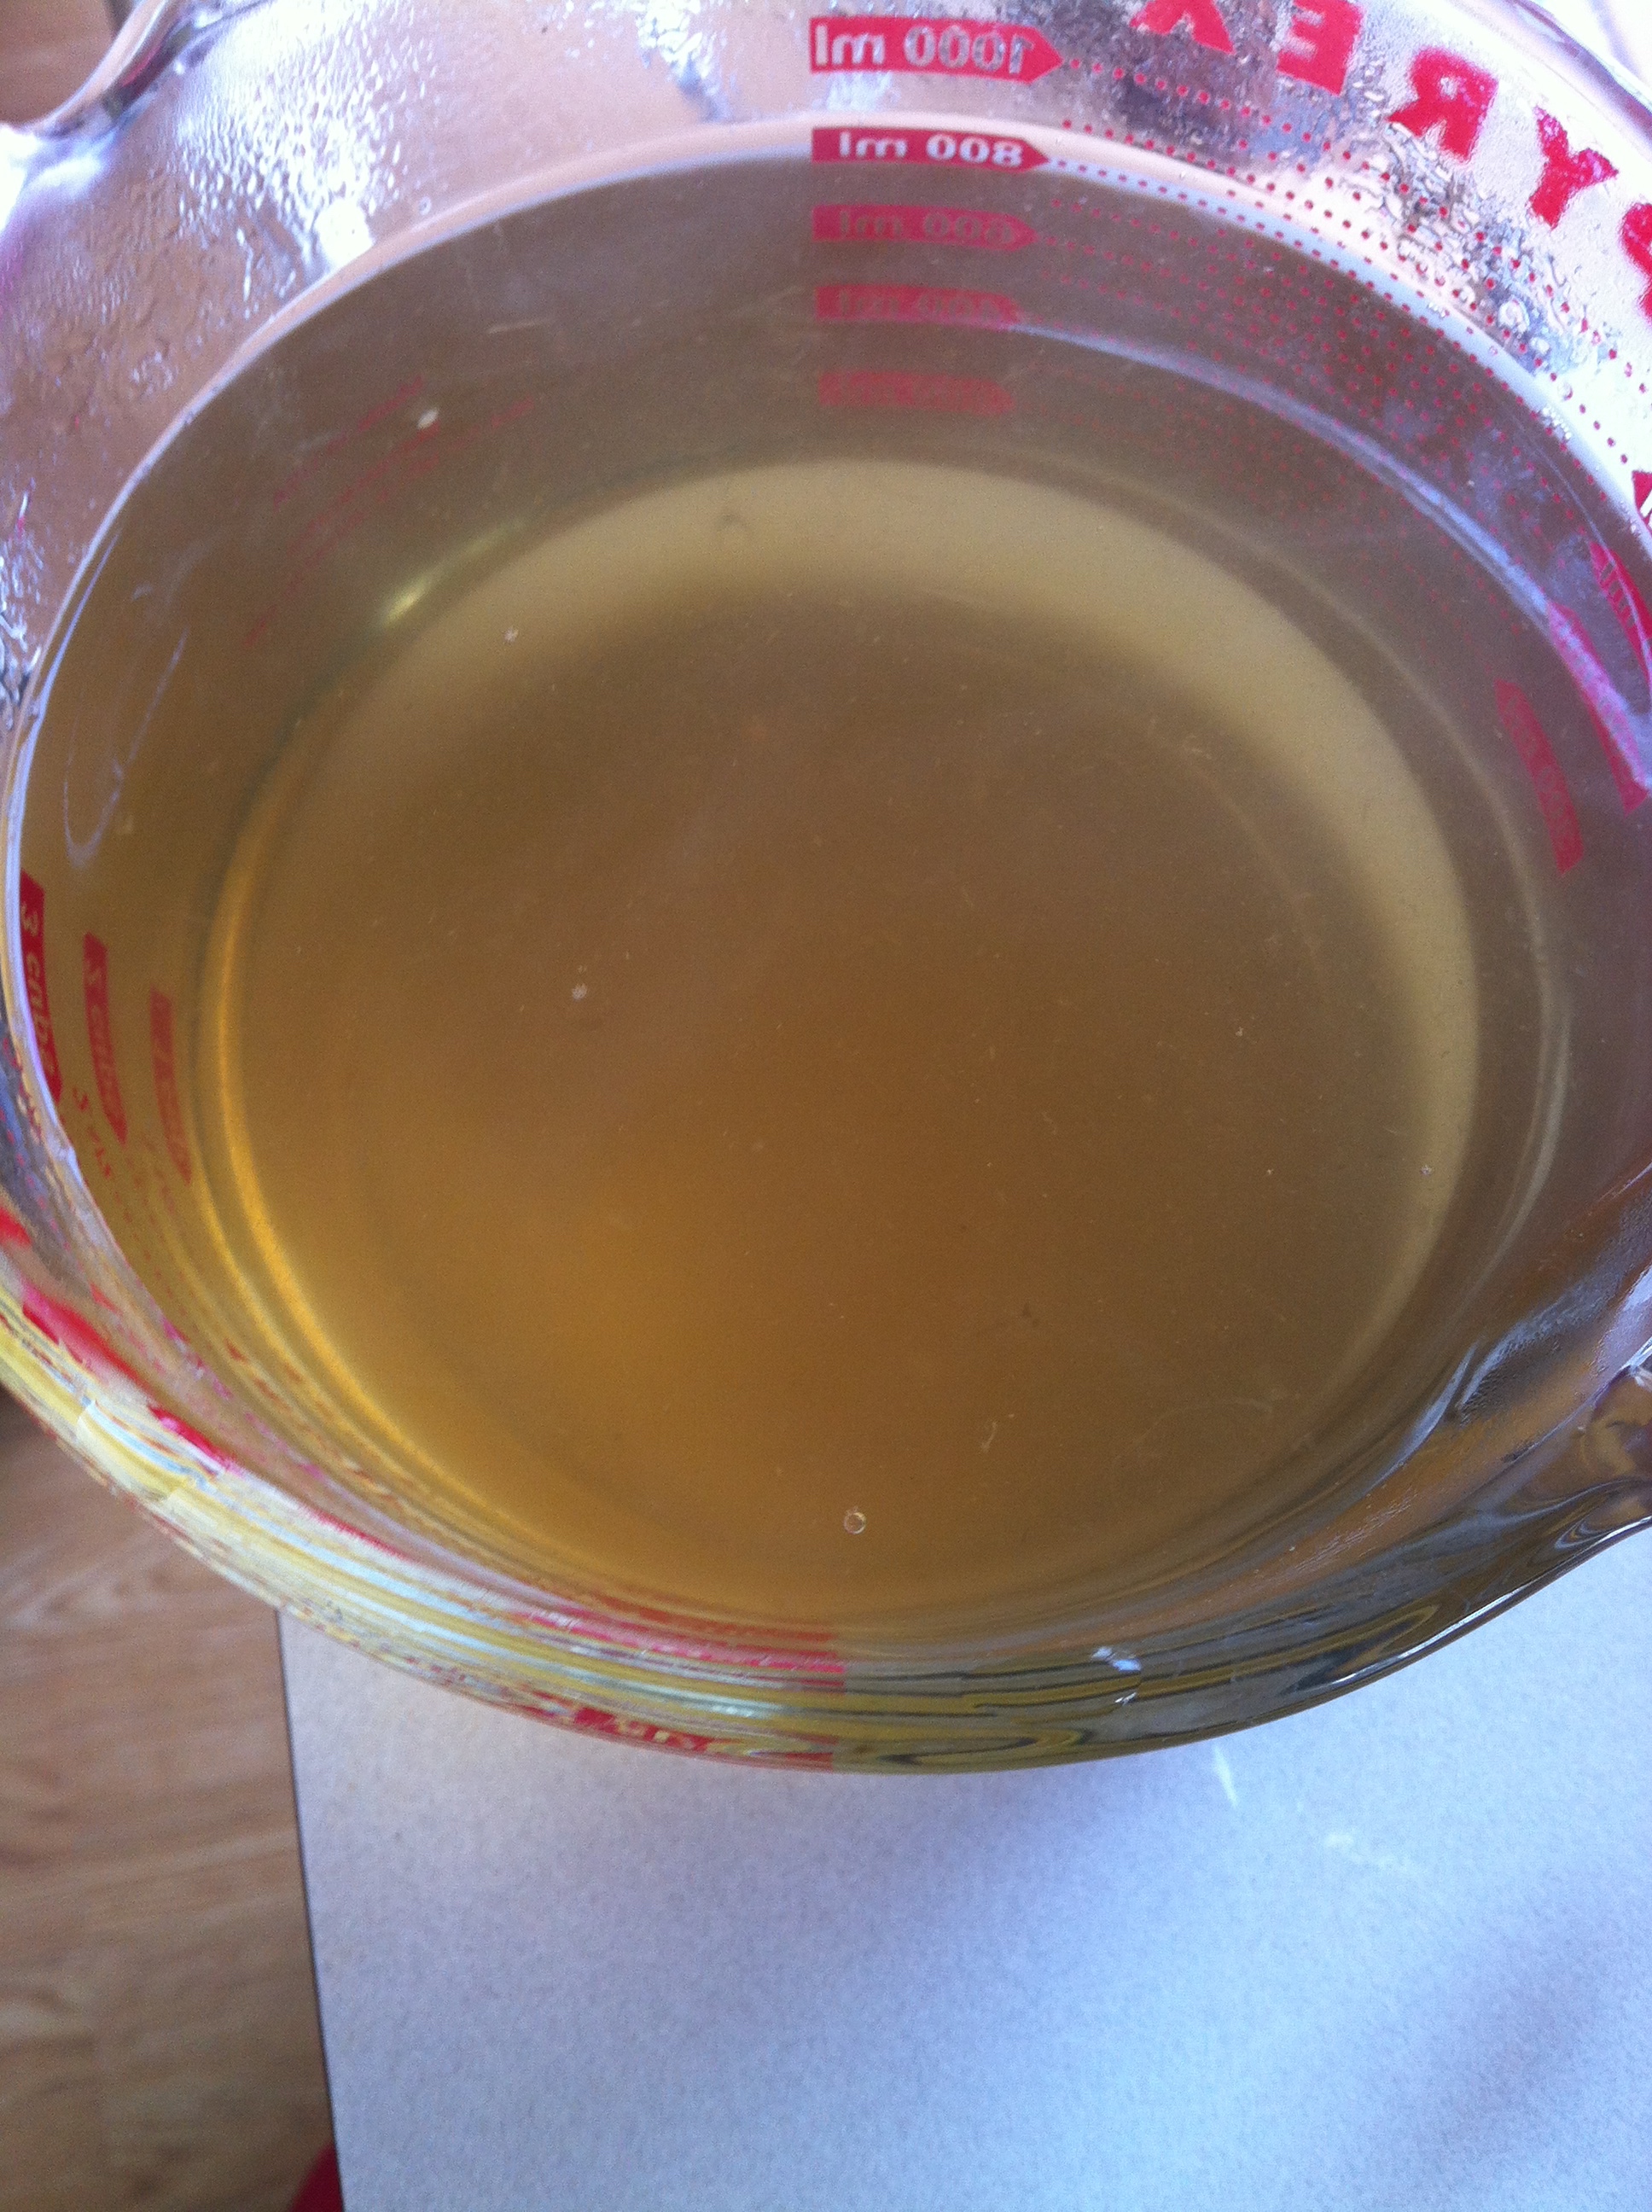
*Remove all vegetables. This usually involves a strainer. Save any veg that you might want to use in your soup. I almost always keep the carrots and the celery.

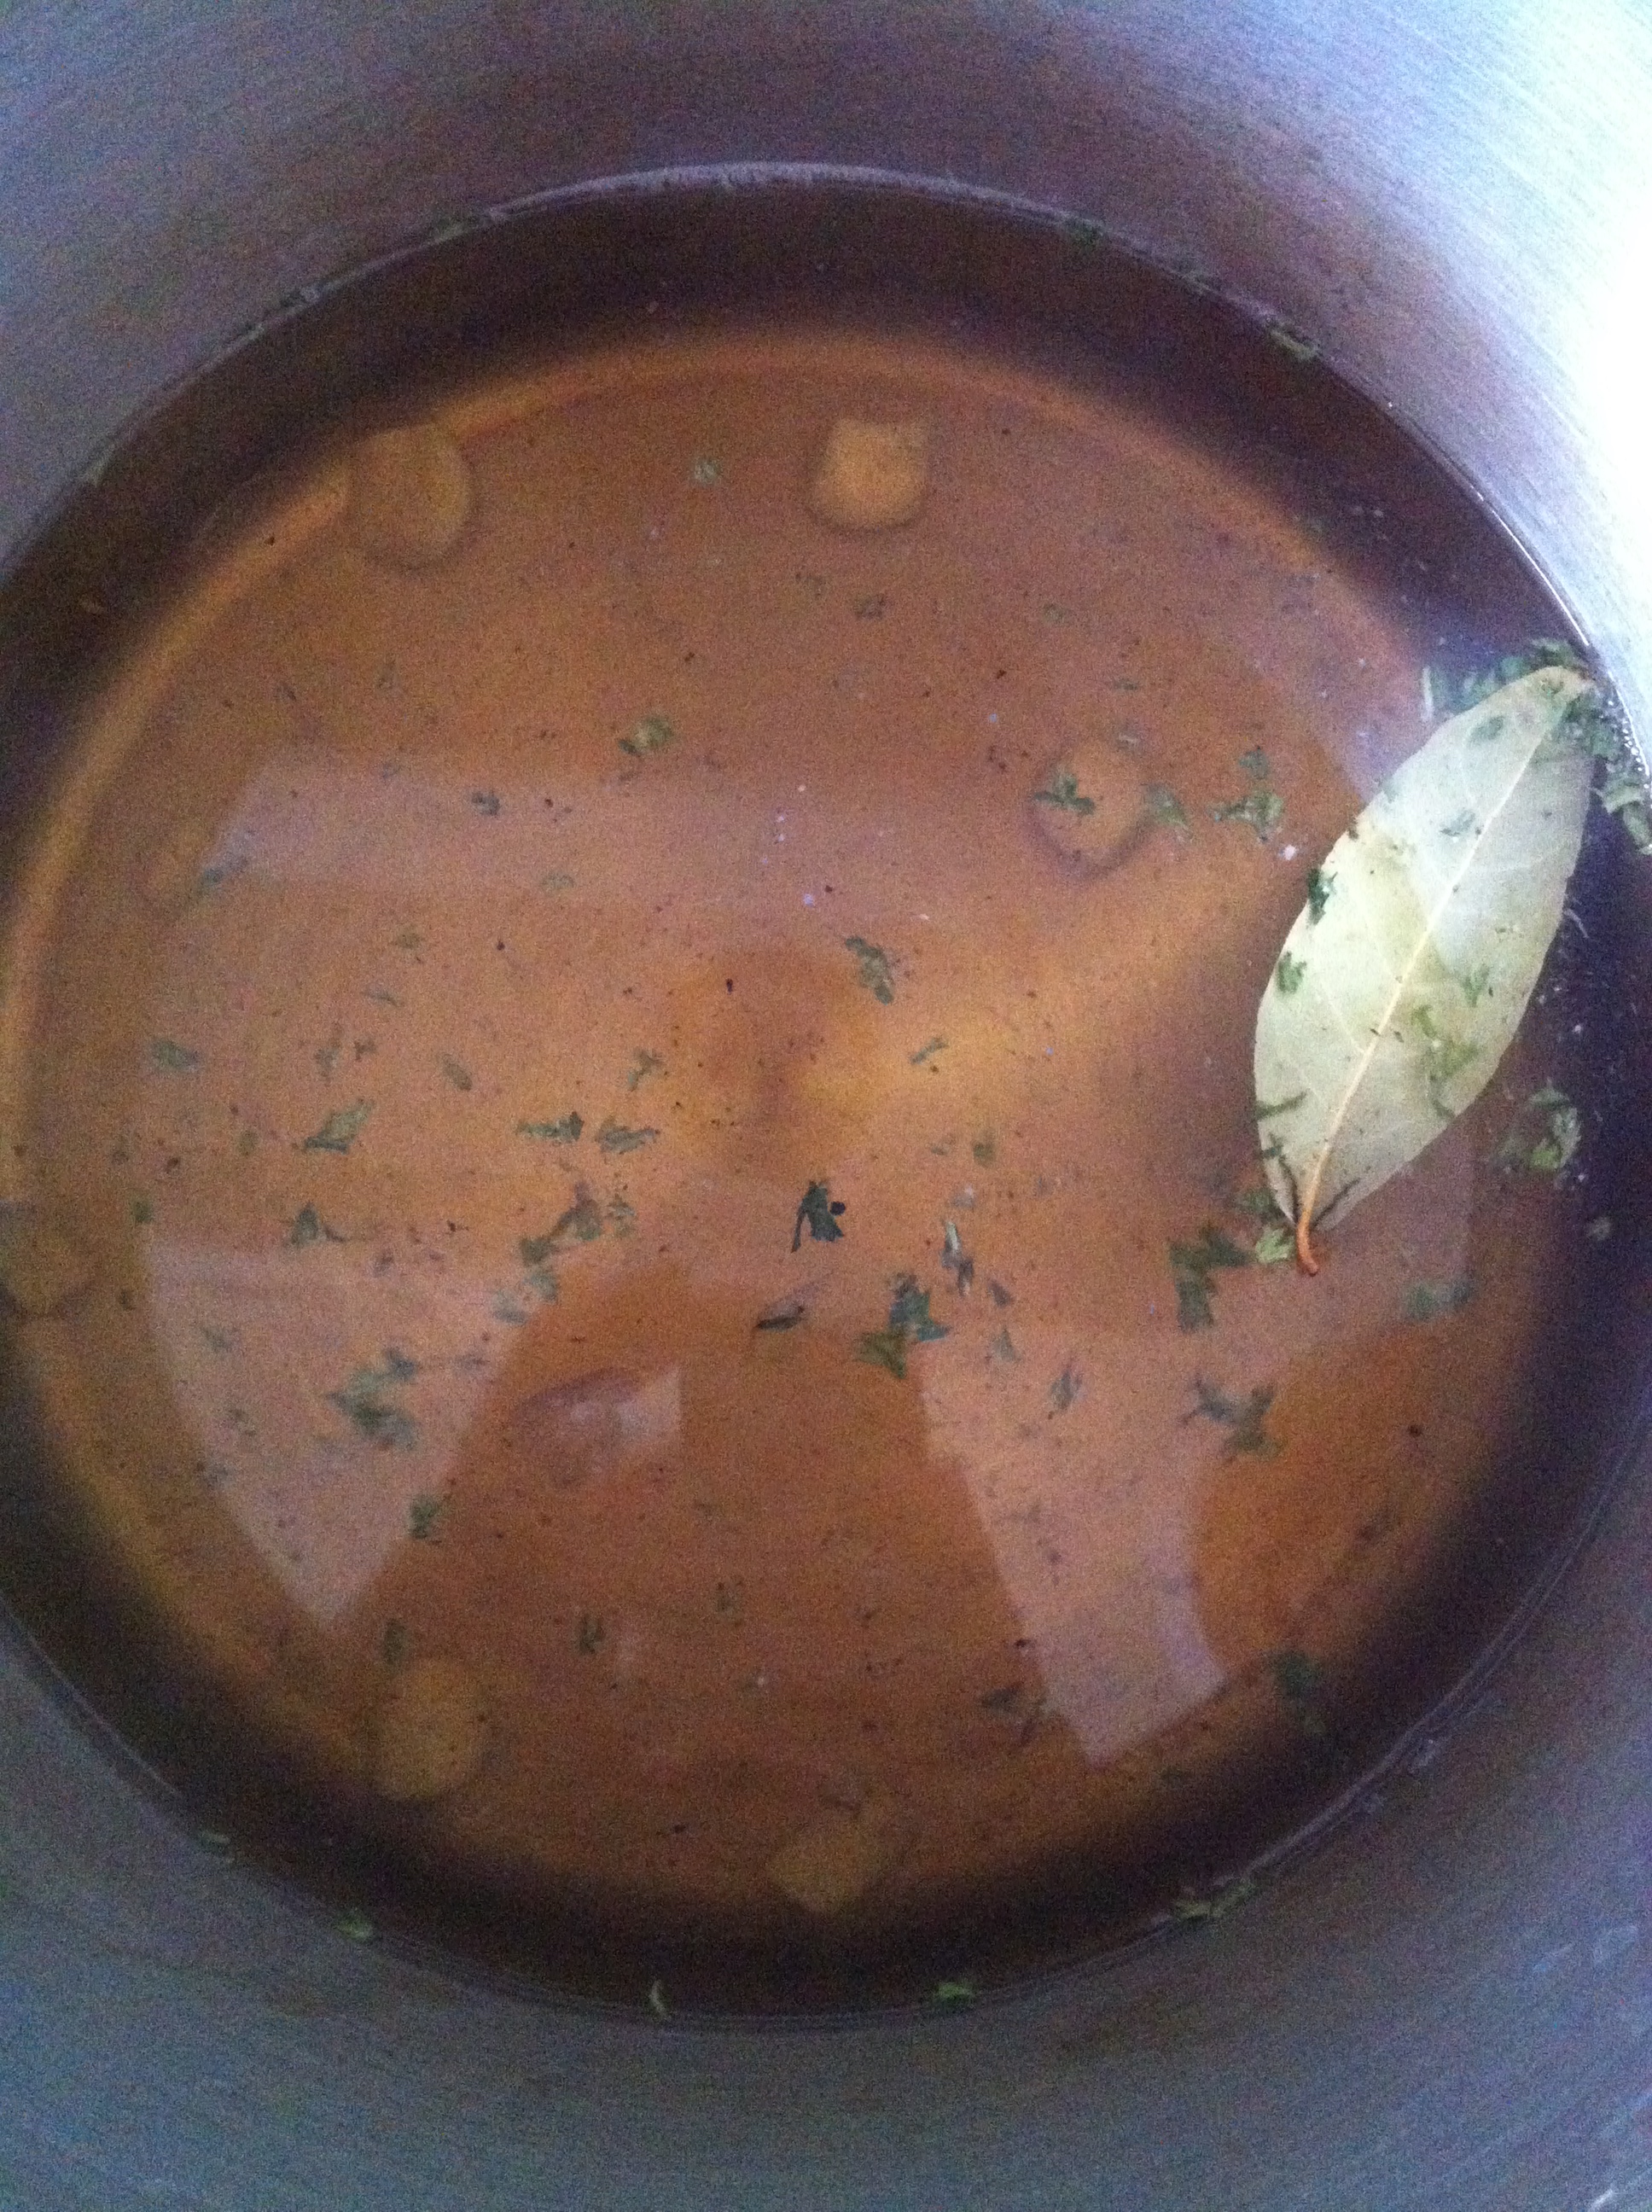
Here is me testing my clearness….It’s defineately on the side of (er).

IMG_7341

Now it’s time for broth! I’m making a garlic broth. So this recipe should be tasty enough to eat just as it is. I won’t be using the whole gallon, so I’ll only put in what stock I need for the soup and freeze the rest.

Garlic Broth: 

IMG_7345

Ingredients:

2 quarts of Vegetable Broth

14 peeled, whole garlic cloves

2 teaspoons of salt

1 teaspoon of pepper

1/4 teaspoon of cloves

1/4 teaspoon of sage

1/4 teaspoon of thyme

1 bay leaf

2 teaspoons of parsley

1 cup of white wine (A sweet white wine is nice, but anything works!)

Garlic Broth How-To:

*Bring your stock to boil.

*Add all ingredients into the stock. Let everything boil for 30 minutes.

*When the 30 minutes are up, fish out the bay leaf and any garlic you’re not keen on eating. I usually leave 7 cloves. And that’s it– you’ve got Garlic Broth!

IMG_7353

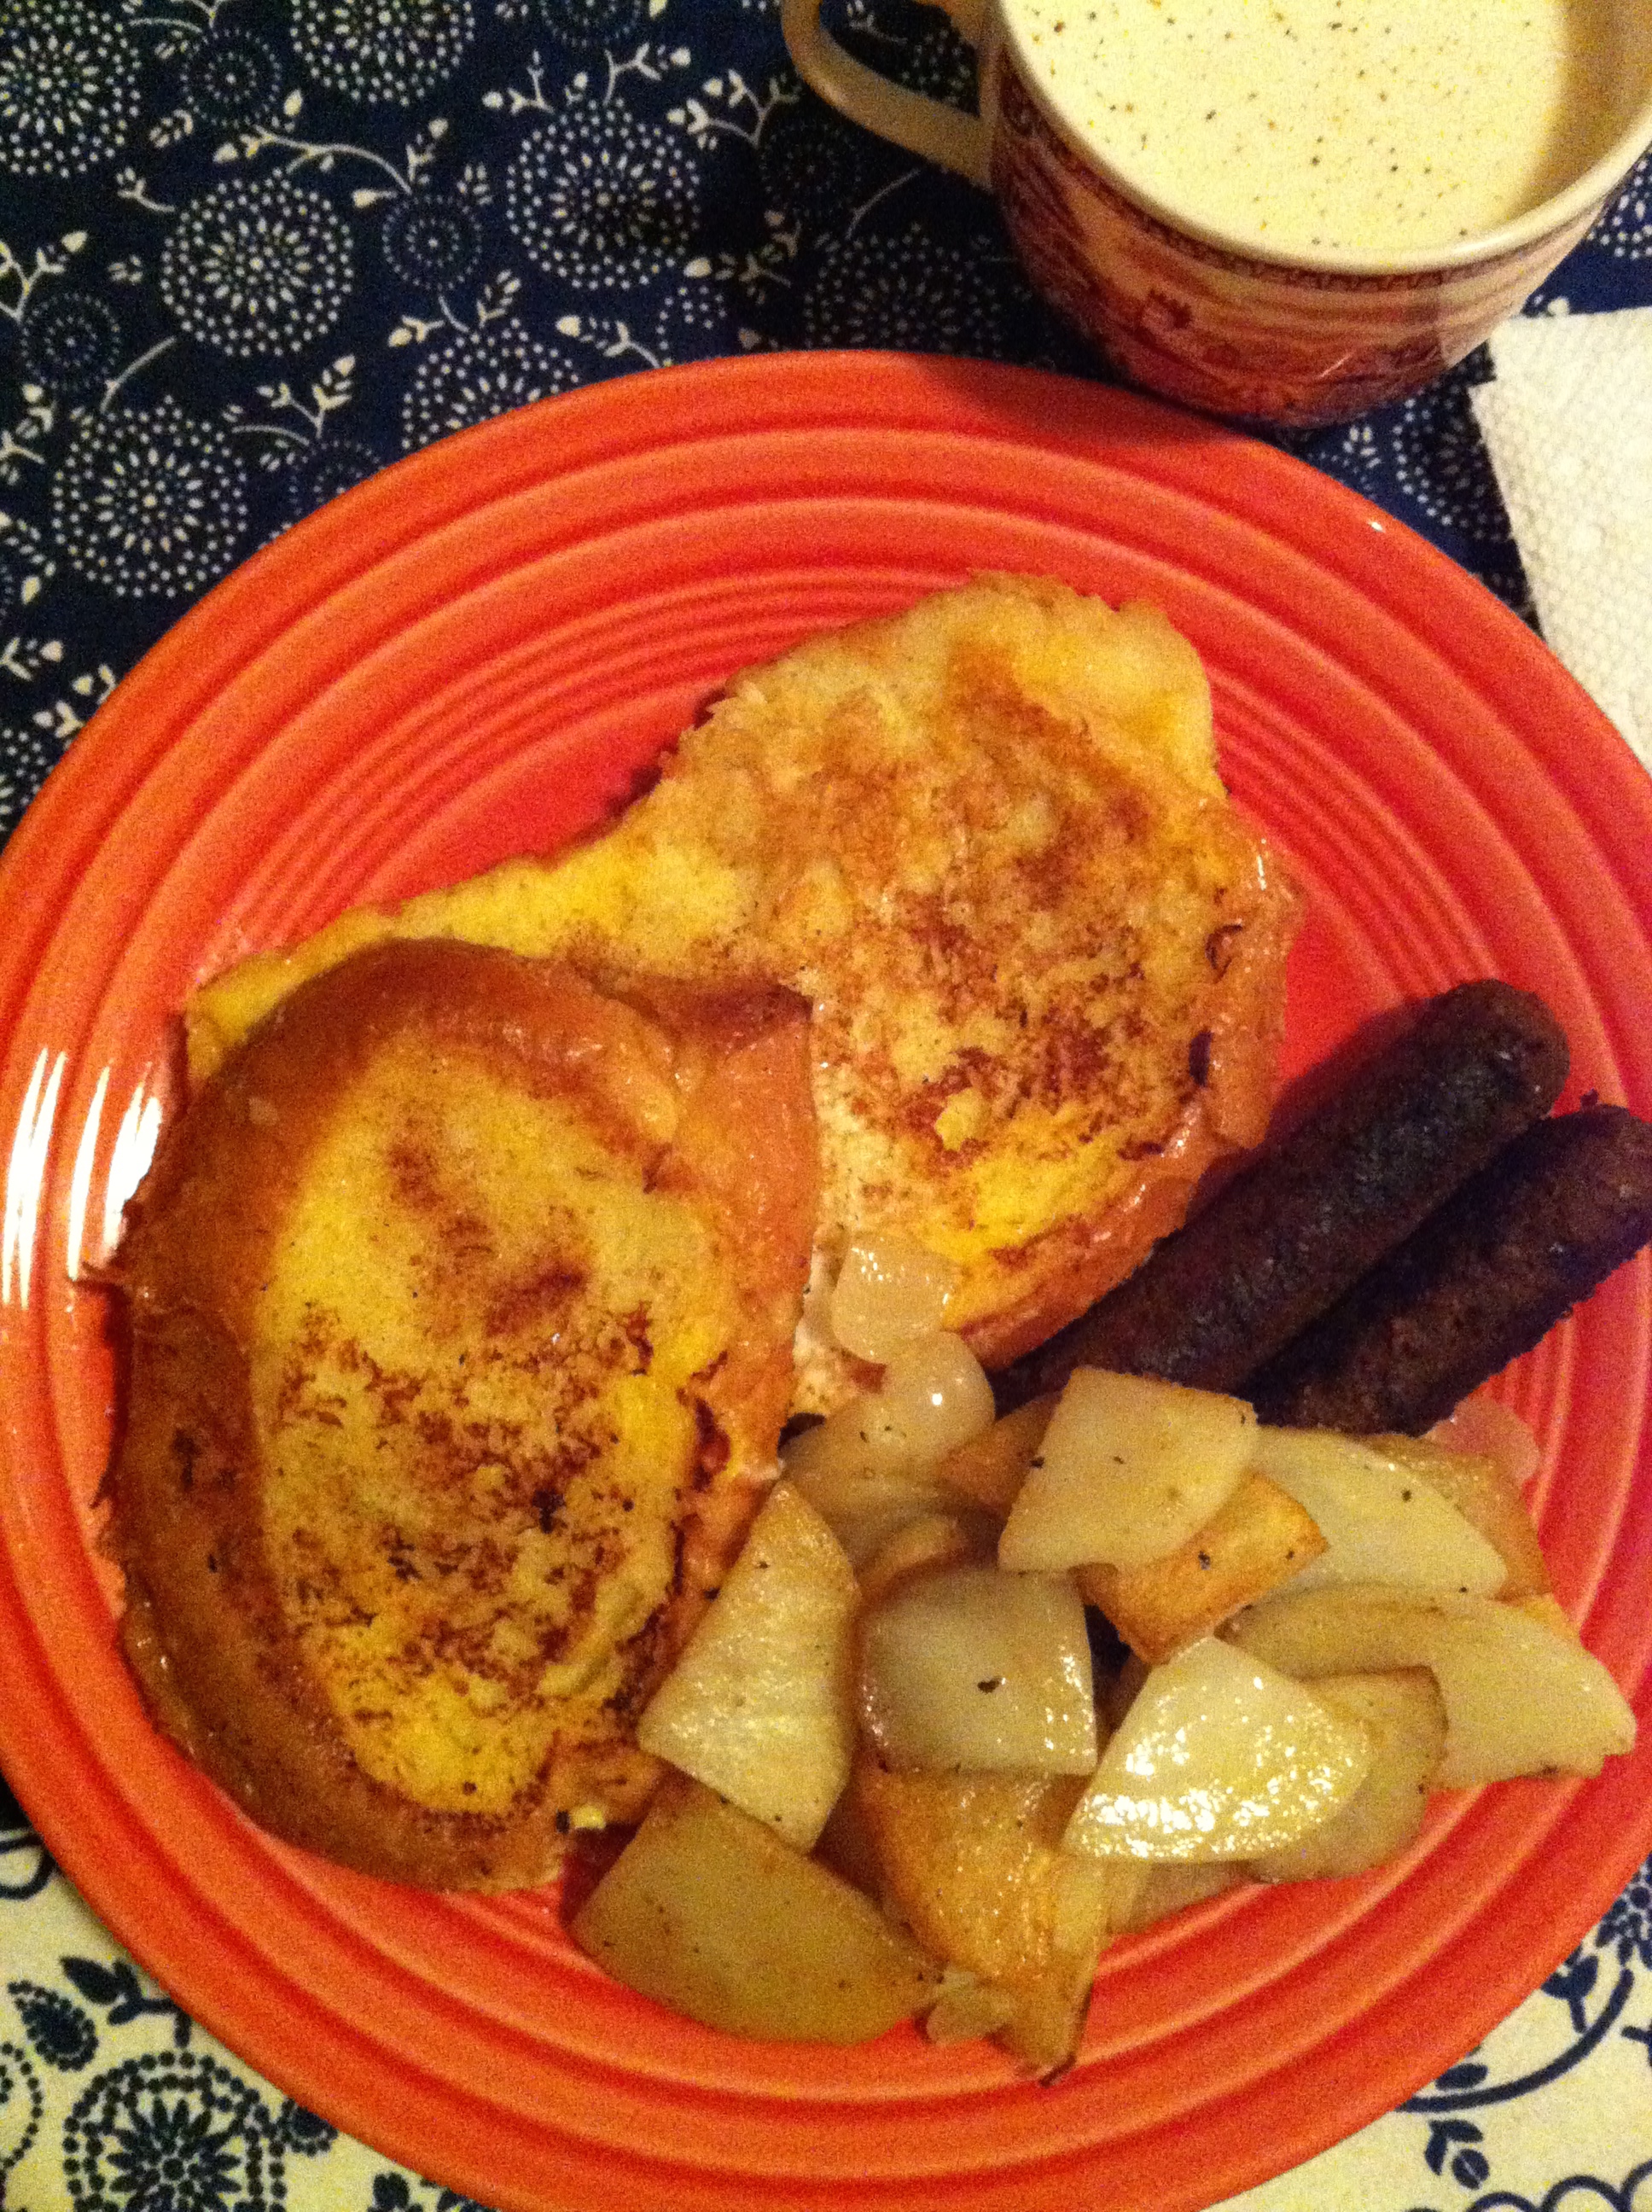
The final step-SOUP! I started making garlic noodle soup when I was looking for a substitute for chicken noodle soup. The great thing about this soup is you can pretty much add anything to it. Whatever ever will warm your bones will do the trick. I often make this soup in the late summer with fresh garden veg and freeze it for when flu season rolls around in December.

Garlic Noodle Soup:

IMG_6904

Ingredients:

2 quarts of garlic broth

2 cups of egg noodles

1 cup of giant lima beans (Canned or soaked is fine)

1 cup of cherry tomatoes

2 carrots, chopped (Remember these can be the same carrots from making stock!)

2 celery ribs, chopped (Ditto.)

2 cups of water

2 eggs scrambled. (You can scramble your eggs while the soup is cooking).

Garlic Noodle Soup How-To:

*Bring the garlic broth to a boil. I usually add a cup or two of water at this point. This will help with evaporation and the noodles pesky habit of soaking up broth.

*Add egg noodles. Cook according to package.

*Reduce to a simmer. Add beans, cherry tomatoes, carrots, and celery. Simmer for 10 minutes.

*Scramble your eggs if you haven’t already.

*Add spinach and stir to help with wilting.

*Add eggs! These guys give you an extra boost of protein and add nice flavor.

*Turn off the heat and let the soup rest for another 10 minutes, the eat it up!

*Season to taste.

Holiday Leftovers: Egg Nog French Toast

IMG_7287

I saw this idea on-line and thought, Yep– That sounds good. Plus I always need recipes for leftover egg nog. Before Christmas I buy up egg nog like we’re going to run out and there’s always a full bottle hanging out in the fridge until New Years. I think I inherited some kind of egg nog scarcity paranoia. And who truly wants nog after January? If you do, than thank goodness. Come over. I have some for you.

Here’s my version of the recipe…and this is the LAST holiday recipe for this year, I promise.

IMG_7315

Ingredients:

1 cup of egg nog

2 eggs

6 slices of bread (I like thick a French loaf or Italian bread)

1 to 1 1/2 tablespoons of butter

1 teaspoon of cinnamon sugar

1/4 a teaspoon of nutmeg

How-to:

Slice 6 pieces of bread and set them aside.

Grab a casserole dish or baking pan that’s big enough to lay all your slices flat on the bottom (Spread them out. No overlapping). I went ahead and set my bread in the pan to make sure it was the right size, then took my slices out.

In the same empty dish/pan, crack your eggs and pour your cup of egg nog. Use a fork to stir them together until well combined.

Set your bread into the pan just like you did before, but now it’s taking a nice nog soak.

Using a fork, press each slice down so it absorbs the egg nog mixture. Let it sit for a minute, then flip the slices. Press them with fork again and let them sit while you prep the stove.

Rub your butter lightly over your skillet. Leave the butter on the skillet and turn the burner heat on medium low. Wait for the butter to melt and bubble slightly.

Using the fork, add your slices to the buttery skillet. (You may have to do batches depending on the size of your skillet).

Cook the first sides until golden and brown, then flip them over.

Once both sides are toasted, sprinkle each slice with the cinnamon sugar and the nutmeg!

IMG_7291

I know this is french toast blasphemy, but you don’t even really need syrup! But you might want a little more nog to go with it.

IMG_7295

Holiday Brainwash: My Repeatedly Forgotten Recipes

Yep, every year I forget how to make the same two recipes: cranberry sauce and roasted chestnuts.

I know. The holidays are over. It’s January for cooks-sake. BUT I am going to document these puppies before I misplace them AGAIN. I’m not kidding. For the past three November’s, Thanksgiving shows up and I find myself asking, where’s that cranberry sauce recipe my family loves? This year, I couldn’t find it at all and had to try another one (which wasn’t a bad thing really). December arrives and I’ve suddenly got fresh chestnuts rolling around the grocery card– and once again, I can’t figure out how to roast them in the oven…sigh. I suffer from holiday brainwash.

No more my food friends– I will be bookmarking this page for next year.

IMG_7162

My Go-To Apple Cranberry Sauce Recipe:

1 12 ounce bag of cranberries

2 large Honey Crisp Apples, diced

1/4 cup of water

¼ cup of freshly squeezed lemon juice

¾ cup of granulated white sugar

1/2 teaspoon of ginger

½ teaspoon of cinnamon

Combine all ingredients in a medium sauce pan, and bring to a boil. Stir, and simmer until cranberries burst and apples soften. Continue to simmer until sauce thickens. From initial boil to thickening takes around 10-20 minutes. As I remember, you have to keep an eye on it and make sure the sugar doesn’t burn. Let it cool and refrigerate until you’re ready to serve it!

IMG_7185

I couldn’t find my usual recipe in time for the holidays this year, so I tried a new one, a Pear-Ginger Chutney. I think I liked it even better!

Pear-Ginger Chutney Recipe

1 12 ounce bag of fresh cranberries

1 cup of granulated white sugar

2 ripe pears, peeled and diced.

1/4 cup of diced crystalized ginger

1 minced jalapeno (minus the seeds)

1 tsp of freshly grated ginger

1/4 tsp of salt

Combine cranberries and sugar in a medium saucepan. Coat the cranberries in the sugar, then set saucepan over medium heat. Stir and cook until cranberries start to burst and sugar dissolves. It took about 8 minutes. Stir in the pears, crystalized ginger, salt, and jalapeno. Stir and cook until pears are softened. It took about 8-10 minutes. Let it cool, then refrigerate until you’re ready to serve it!

IMG_7247

Perfect Oven Roasted Chestnuts

That’s right– this recipe is perfect. Or almost. Trust me. After as much trial and error I’ve had, let me just give you this recipe and you can go about your chestnut oven roasting business.

This works on any quantity of chestnuts– that’s up to you. I always add a few extra just incase a few of the nuts refuse to peel.

1) Preheat oven to 375

2) Fill a bowl (big enough to hold all the chestnuts you’re going to roast) with water.

3) Grab a casserole dish with a lid (something you can put in the oven).

4) Pick out the chestnuts you want roast.

5) There will be a rounded and flat side to the chestnut. Find the flat side. Using a paring knife, cut a small X through the shell of the chestnut. This will keep the chestnuts from exploding in your oven (yeah).

6) Drop each scored chestnut into the bowl of water.

7) Let them all soak in the water for 3 minutes. This will help the nuts steam in the oven.

8) Place the scored and soaked chestnuts in the casserole dish with the lid. Put the lid on- don’t forget it!

9) Roast in the oven for 15 minutes.

10) When time’s up, take the lid off and let the chestnuts cool for 5 minutes in their casserole dish. You still want them to be warm to touch. If they completely cool, there’s no way in heck to peel them.

11) Use the same small knife, and possibly a hand held nut cracker to help you peel the shell and the “furry” skin off the soft chestnut meat. Be careful with that nutcracker the chestnut could mush on you, so only use it on stubborn chestnuts.

12) Set the nuts aside until you are ready to saute or eat them. I always saute mine in some olive oil, a dash or two of freshly ground pepper and garlic salt and 1 teaspoon of fresh chopped rosemary.

Fresh unpeeled chestnuts must stay refrigerated and last for a week or two, just depending on how fresh they were to begin with. I love to put pan sautéed chestnuts on top of my winter salad.

IMG_7249

Well, there they are, the holiday recipes I forget every year. Problem solved– I hope.